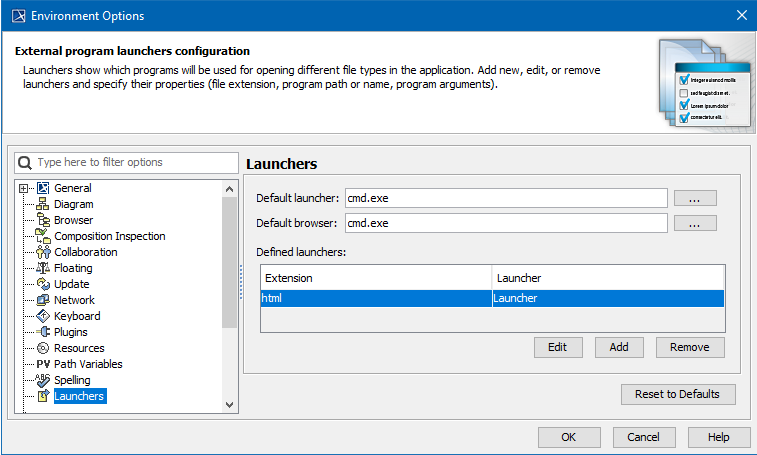
Launchers show which programs will be used for opening different file types in the application. Add new, edit, or remove launchers and specify their properties (file extension, program path or name, program arguments).
To open the Launcher Properties dialog
From the Options menu, choose Environment.
In the Environment Options dialog, from options group list select Launchers.
To specify properties of the default launchers
To edit Default launcher, click the
 button next to the Default Launcher or Default Browser text boxes.
- The Launcher Properties dialog appears.
- You can change Launcher`s executable file and arguments.
To create the defined launcher
- Click the Add button, found below the Defined Launchers list.
- The Launcher Properties dialog appears.
- Specify the file extension, which will be opened with the specified launcher.
- Type the name of the launcher in the text box, or browse to the location of the launcher by clicking the
 button.
 - Specify external launcher arguments.
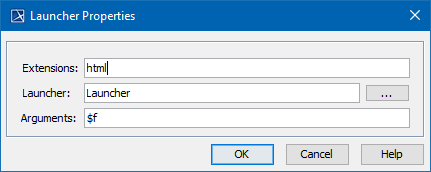
Properties are described in the following table.
| Property Name | Function |
|---|---|
Extensions | Type the extensions of the files which will be opened with the specified launcher. You can define more than one extension. Separate them using commas (i.e., html, xls, doc, cpp, h). |
Launcher | An executable file with which the extension file will be opened. |
Arguments | Arguments are required by the external launcher, so the modeling tool provides the ability to pass some common arguments to the launcher:
|
Related pages