You can create any diagram in one of the following ways:
- By using the diagram creation dialog
- From the Model Browser
- From the element's Specification window
- By using the diagram creation wizard
To create a diagram using the diagram creation dialog
- In the Model Browser, select the owner for the new diagram.
- Do one of the following:
- Press Ctrl+N.
- On the main toolbar, click .
- From the main menu, select Diagrams > Create Diagram.
- Open the Content diagram and on its palette, click the Create Diagram button.
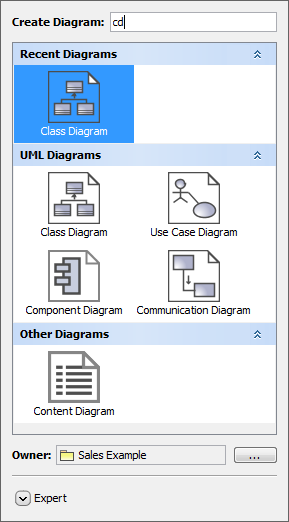
When the diagram creation dialog opens, in the Create Diagram box, enter the diagram type you are searching for.
Use the Camel Case, when searching for diagrams:
- Type the first letters (for example, "CD" to find "Class Diagram")
- Type lower-case letters (for example, "cd" instead of "CD")
- Skip the spacers (for example, "cv3" works as well as "CV-3" or "cv-3")
- Perform a partial search (for example, "ibd" finds SysML Internal Block diagram)
Select the diagram.
Press Esc or click outside the dialog to close the diagram creation dialog without creating the diagram.
To create a diagram from the Model Browser
Right-click the Package, Profile, Model, or other element where you want to create the diagram.
From the shortcut menu, point to Create Diagram, then click the diagram type you want to create.
You can also create diagrams for multiple elements at the same time. Press and hold the Shift key while selecting several elements in your model.
To create a diagram from the element’s Specification window
- Open the Inner Elements property group in the Package’s, Profile’s, Model’s, or other element’s Specification window.
- Click the Create button. From the button's shortcut menu select Create Diagram, then choose the new diagram type. The Specification window of the new diagram opens.
- In the open window, type the diagram name and click Close.
To create a diagram using the diagram creation wizard
- Do one of the following:
- On the main menu, click Diagrams > Diagram Wizards, then select the appropriate wizard depending on the type of diagram you want to create.
- On the main menu, click Analyze > Model Visualizer. The Model Visualizer dialog with the list of available diagram creation wizards is opened. Select one and click the Start button.
- Follow the steps of the selected diagram type creation wizard.
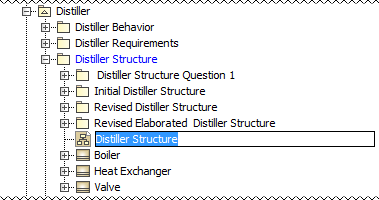
The newly created diagram is automatically named after the owner. If you create several diagrams of the same type under the same owner, their names are numbered.
Related pages


