Page History
...
- Download the installer, magic_collaboration_studio_190_sp2_installer_win64.exe for Windows (or magic_collaboration_studio_190_sp2_installer_linux64.bin for Linux).
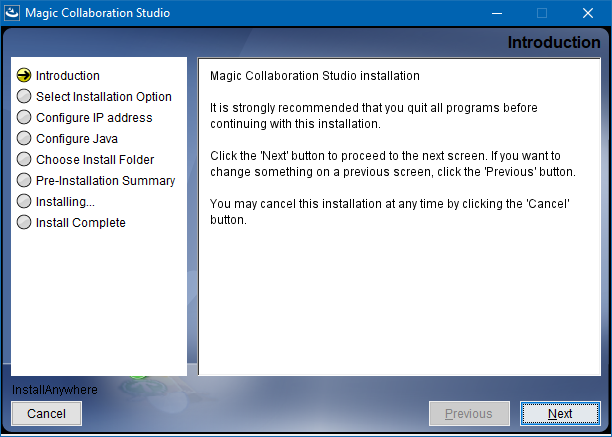
- Right click on the downloaded installer and Run as administrator. The Introduction section will open. Click Next.
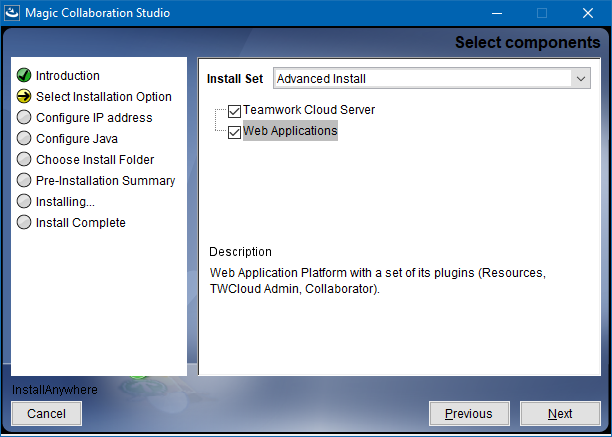
- In Select Installation Option section select type of installation:
- If you select Quick install, click Next and go to step #4.
- If you select Advanced Install, you will need to specify components that you want to install. Click Next.
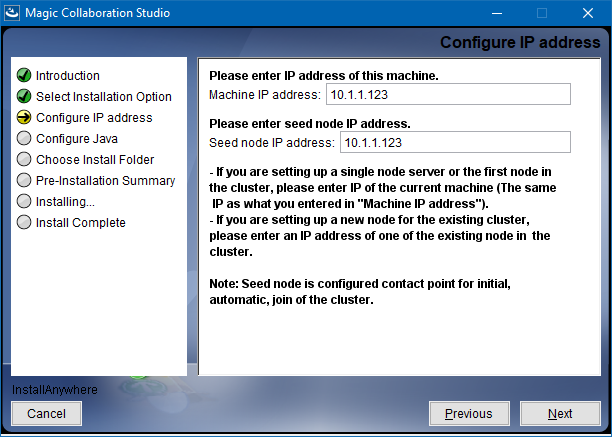
- Configure IP address:
- Type the name or IP of the machine on which you want to install MCS.
- Enter the node IP. If your machine is a single node server or the first node in the cluster, enter the IP of your machine. Click Next.
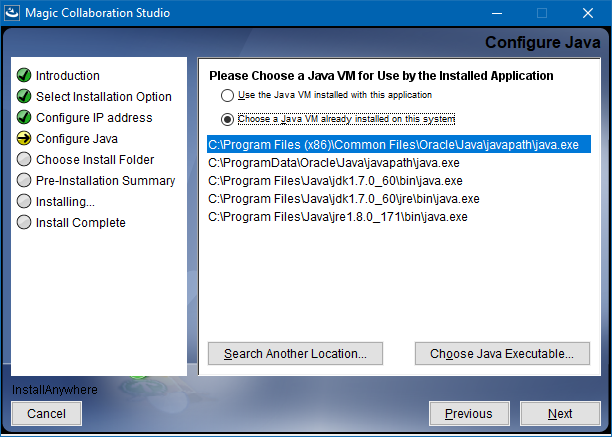
Select the Java VM installed on your machine for running MCS and click Next.
Select a location on your machine where you want to install TWCloud and click Next. The Pre-Installation Summary section will open.
- Check if everything is correct.
Click Install. The installer will install MCS on your machine.
Upon successful installation, click Done to close the installation window.
Open the Task Manager and start the following services:
- Authserver service
- Teamwork Cloud service
- WebApp service
- Check if the system is working. You should be able to access Magic Collaboration Studio via https://localhostFQDN:8443/webapp/.
Post-Install Configuration
...
Edit the configuration file: C:\Program Files\MagicCollaborationStudio\configuration\application.conf. Search for seeds = , located under the section for the persistence Cassandra section, and replace: localhost with: ip_address_of_cassandra_node. Search for server =, located in the esi.auth section. Please remove the "#" sign and enter the ip address or FQDN (if accessing via FQDN) of your server.
If you are accessing TWCloud Admin via its FQDN, edit the configuration file: C:\Program Files\MagicCollaborationStudio\AuthServer\config\authserver.properties. Search for server.public.host and replace the IP address with the FQDN. Search for authentication.redirect.uri.whitelist, and append the following to the entry, https://FQDN:8443/webapp/
Please create a an entry in C:\Windows\System32\drivers\etc\hosts containing the local IP address and the FQDN of your machine, if accessing via FQDN. For example, if your IP address is 10.1.1.123 and your FQDN is mymachine.mydomain.local, it would be in this form:
10.1.1.123 mymachine.mydomain.localOpen an administrative command prompt and issue the following commands in order to create service dependencies:
sc config authserver depend= teamworkcloud
sc config webapp depend= teamworkcloud
- Open the Task Manager and restart the authserver, teamworkcloud, and webapp services.
In your web browser, go to https://localhost:8443/webapp (if default options are used) to open Magic Collaboration Studio.