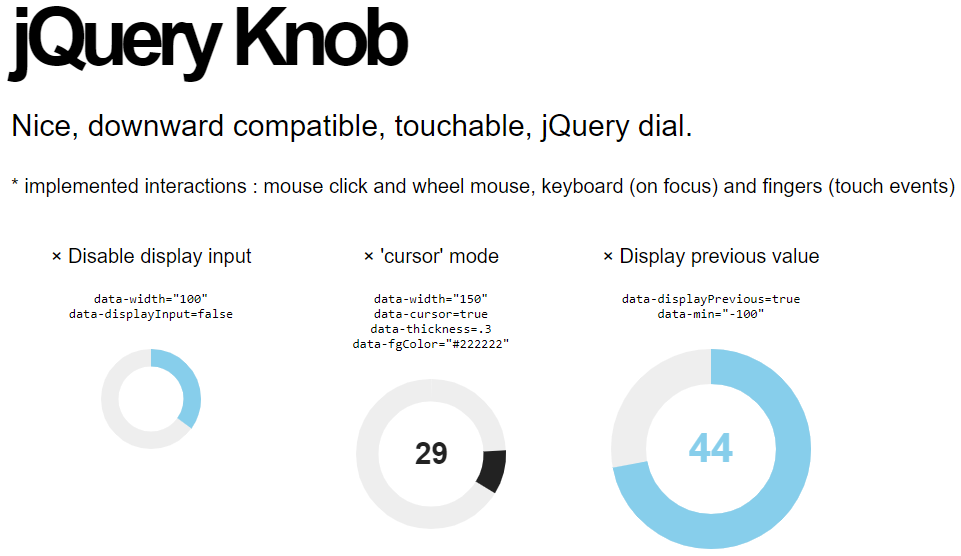
After you find any interesting widgets, please follow the steps below to integrate them for simulation. A free widget, named jQuery Knob, will be used in this demonstration. This widget can be found and downloaded via this link.

To integrate widgets for simulation
See what information is needed to create the widget, e.g., the jQuery Knob widget needs an input element, scripts, and jQuery Knob library, as displayed below.
<input type="text" value="75" class="dial">

<script>
	$(function() {
		$(".dial").knob();
    });
</script> |
Create a widget.HTML file with the content below.
<!doctype html> <html> <head> <title>@title@</title> </head> <body class="widget" paths="@paths@"> </body> </html> |
|
@title@ can be optionally replaced with any title. It is a predefined variable in simulation which will be replaced by the property name whose type is of this widget. |
Create a new js folder. Copy the jQuery Knob library to the created js folder.

Different widgets require different numbers of jQuery library files, including CSS files. Please ensure that you copy and include all those files. |
Import required jQuery libraries and CSS files, if any, to the HTML head element, and add the widget code to the body element, as shown below.
<!doctype html>
<html>
	<head>
		<title>@title@</title>

		<script type="text/javascript" src="js/jquery.knob.js"></script>
	</head>

	<body class="widget" paths="@paths@">
		<input type="text" class="dial">

		<script>
			$(function(){
				$(".dial").knob();
			});
		</script>
	</body>
</html> |
Because this widget requires the jQuery library, it needs to also import the jQuery library before the widget import statement. Alternatively, the @scripts@ predefined variable can be used so that simulation will generate jQuery files and replace this variable with jQuery import statements. In addition, the @simulation_js@ predefined variable must be added as the last import statement in the head element because simulation will replace this variable with the core simulation javascript import statement. See the code below for the detail in this step.
<!doctype html>
<html>
	<head>
		<title>@title@</title>

		@scripts@
		<script type="text/javascript" src="js/jquery.knob.js"></script>
		@simulation_js@
	</head>

	<body class="widget" paths="@paths@">
		<input type="text" class="dial">

		<script>
			$(function(){
				$(".dial").knob();
			});
		</script>
	</body>
</html> |
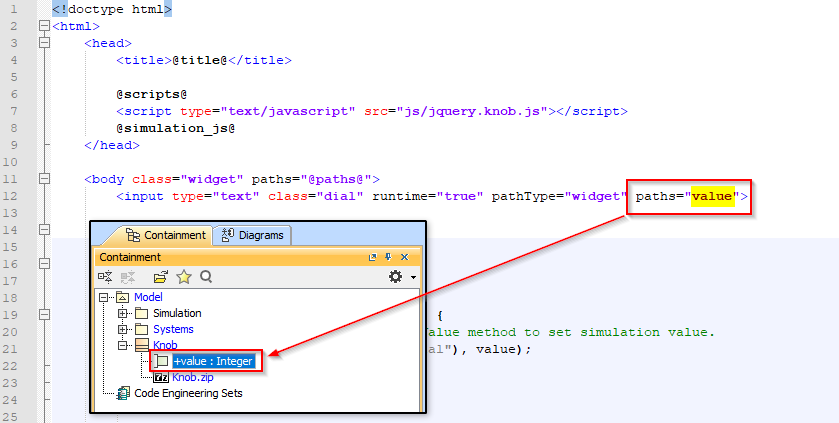
Add the following attributes to the widget element, where the value of the paths attribute is the name of a property/Port that will be used as input/output in simulation.
runtime="true" pathType="widget" paths="value" |
Apply the added attributes to the widget element as shown below.
<!doctype html>
<html>
	<head>
		<title>@title@</title>

		@scripts@
		<script type="text/javascript" src="js/jquery.knob.js"></script>
		@simulation_js@
	</head>

	<body class="widget" paths="@paths@">
		<input type="text" class="dial" runtime="true" pathType="widget" paths="value">

		<script>
			$(function(){
				$(".dial").knob();
			});
		</script>
	</body>
</html> |
If the widget can be used as an output to display a value from simulation, you can override the customSetHTMLValue method and set the widget value in the overridden method, e.g., the jQuery Knob widget sets the value by using the following code.
<script>
    $('.dial')
        .val(27)
        .trigger('change');
</script> |
It can then be integrated for simulation as follows.
<!doctype html>
<html>
	<head>
		<title>@title@</title>

		@scripts@
		<script type="text/javascript" src="js/jquery.knob.js"></script>
		@simulation_js@
	</head>

	<body class="widget" paths="@paths@">
		<input type="text" class="dial" runtime="true" pathType="widget" paths="value">

		<script>
			$(function(){
				$(".dial").knob();
			});

			/**
			* This method will be called when a value of the widget element is changed.
			* @param item is an element with matching attribute paths in the body and the element itself.
			* @param data represents a new value.
			* @param formattedValue indicates a new value formatted by the simulation web server.
			*/

			function customSetHTMLValue(item, data, formattedValue) {
				if ($(item).is($(".dial"))) {
					$(item).val(data).trigger('change');
				}
			}
		</script>
	</body>
</html> |
The line of code shown below is needed to prevent the customSetHTMLValue method from being called when there is a value change from any other widgets with the same property paths. The following line of code checks if the updating widget (the item parameter), is the same element as this Knob widget.
|
If the widget can be used as an input to change simulation value, you can call the doSetWidgetValue method when the widget changes the value, e.g., the jQuery Knob widget has a hook to tell when the value is changed, as demonstrated below.
<input type="text" value="75" class="dial">

<script>
    $(".dial").knob({
        'change' : function (v) { console.log(v); }
    });
</script> |
This is integrated for simulation as following.
<!doctype html>
<html>
	<head>
		<title>@title@</title>

		@scripts@
		<script type="text/javascript" src="js/jquery.knob.js"></script>
		@simulation_js@
	</head>

	<body class="widget" paths="@paths@">
		<input type="text" class="dial" runtime="true" pathType="widget" paths="value">

		<script>
			$(function() {
				$(".dial").knob({
					'release' : function(value) {
						//call the doSetWidgetValue method to set a simulation value.
						doSetWidgetValue($(".dial"), value);
					}
				});
			});

			/**
			* This method will be called when a value of the widget element is changed.
			* @param item is an element with matching attribute paths in the body and the element itself.
			* @param data represents a new value.
			* @param formattedValue indicates a new value formatted by the simulation web server.
			*/

			function customSetHTMLValue(item, data, formattedValue) {
				if ($(item).is($(".dial"))) {
					$(item).val(data).trigger('change');
				}
			}
		</script>
	</body>
</html> |
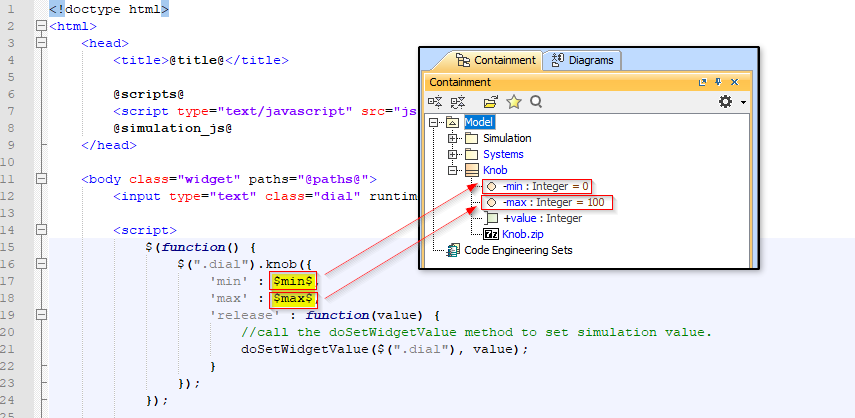
If the widget has options, these options can be modified to customize in the widget Class in MagicDraw, e.g., the jQuery Knob widget has the min and max options in the code below.
$(".dial").knob({
    'min':-50,
    'max':50
}); |
When integrated for simulation, the value for each option can be defined by using the $widget_property$ format, where widget_property is the name of a property owned by the widget Class in MagicDraw as shown below.
<!doctype html>
<html>
	<head>
		<title>@title@</title>

		@scripts@
		<script type="text/javascript" src="js/jquery.knob.js"></script>
		@simulation_js@
	</head>

	<body class="widget" paths="@paths@">
		<input type="text" class="dial" runtime="true" pathType="widget" paths="value">

		<script>
			$(function(){
				$(".dial").knob({
					'min' : $min$,
					'max' : $max$,
					'release' : function(value) {
						//call the doSetWidgetValue method to set simulation value.
						doSetWidgetValue($(".dial"), value);
					}
				});
			});

			/**
			* This method will be called when a value of the widget element is changed.
			* @param item is an element with matching attribute paths in the body and the element itself.
			* @param data represents a new value.
			* @param formattedValue indicates a new value formatted by the simulation web server.
			*/

			function customSetHTMLValue(item, data, formattedValue) {
				if ($(item).is($(".dial"))) {
					$(item).val(data).trigger('change');
				}
			}
		</script>
	</body>
</html> |
Archive the widget.HTML file and the js folder into a zip file.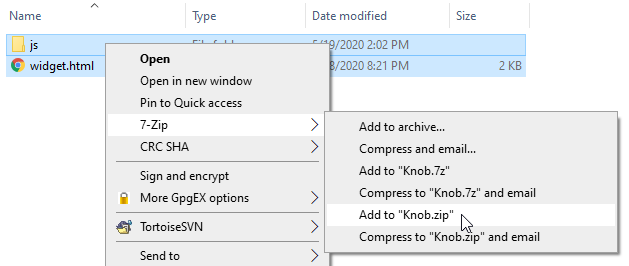
The widget.HTML file and all related resources must be archived into a zip file and the widget.HTML file must be the root directory of the zip file. |
Open MagicDraw and create a new Simulation project.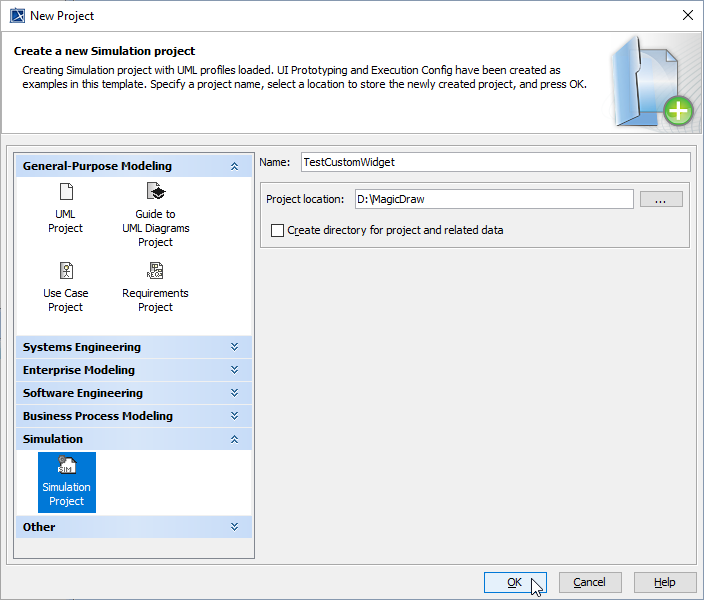
You can also create other kinds of project, but you need to use the Simulation profile in your created project before proceeding to the next steps. |
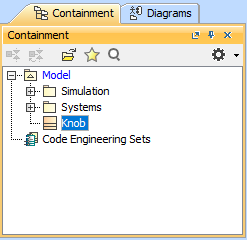
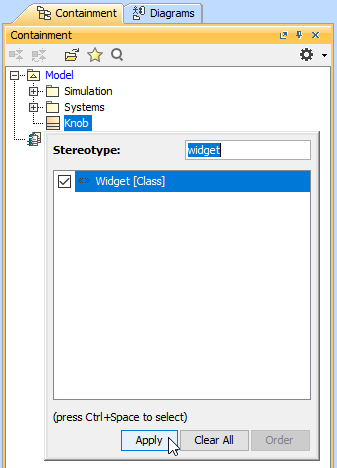
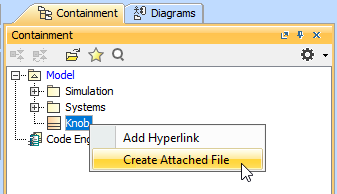
Open the Specification dialog of the widget Class. Find and select the value field of the Image property to set an icon for the widget Class.
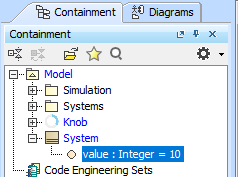
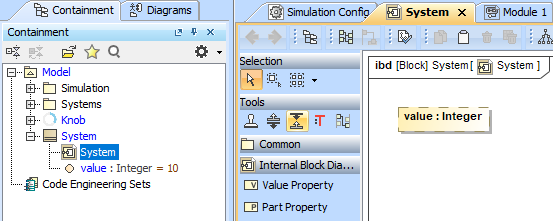
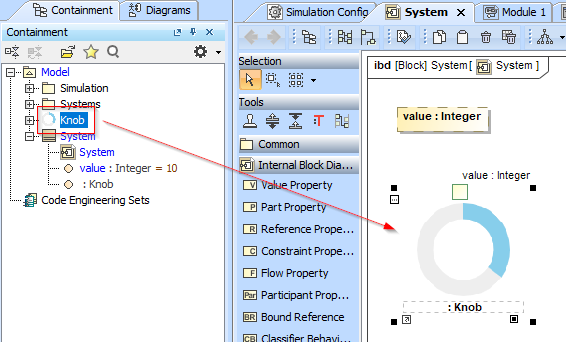
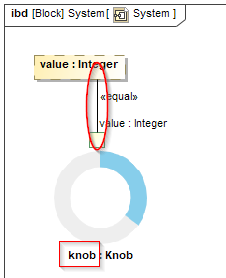
Specify a name for the widget property and create a binding Connector between the value Port of the widget and the value property.
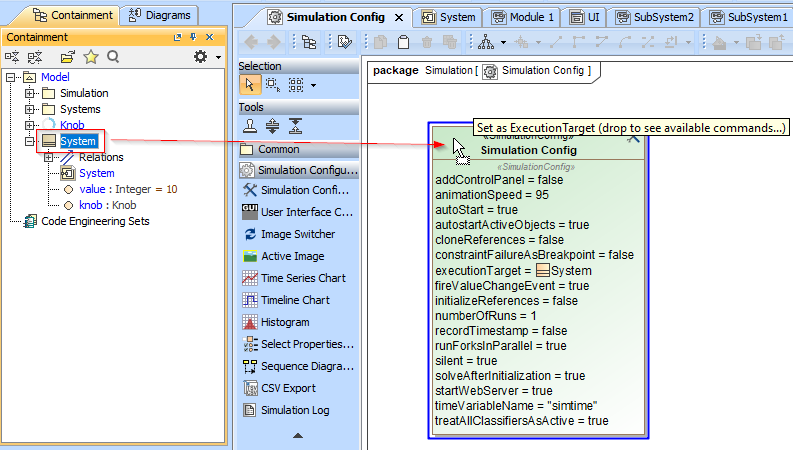
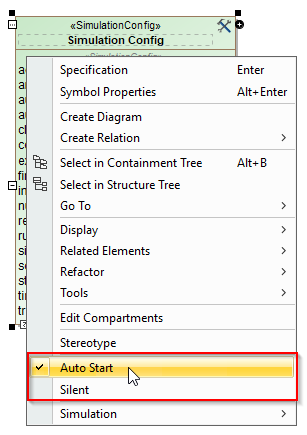
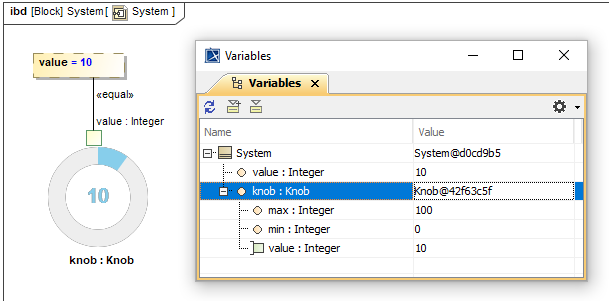
The table below explains how predefined variables will be replaced when widget files are generated.
Variable name | Resolved text after generating widgets |
@title@ | A name of the Part property representing the widget. |
@scripts@ | Predefined javascript import statements: <script type="text/javascript" src="js/jquery-1.12.4.min.js"></script> <script type="text/javascript" src="js/jquery-ui-1.12.0.min.js"></script> |
@simulation_js@ | Core simulation javascript import statement: <script type="text/javascript" src="js/Simulation.js"></script> |
@paths@ | Auto-generated paths to the widget. |
$widget_property$ | widget_property as the name of a property, owned by the widget Class in MagicDraw. This variable will be replaced by the default value of the property or the slot value of the widget instance. |