Managing tabular view rows
Each table row appearing along the side of the table represents a model element. The procedures on this page describe how to manage elements in tabular views, such as how to add, remove, delete them, etc.
Adding elements to the table
Adding elements to the table via drag and drop
Add already created elements to the table.
To add elements to the table via drag and drop
- Select element(s) in the Containment tree or element symbol(s) in a view, then drag and drop them onto the diagrammatic representation of a tabular view.
The element is added to the table.
- The element position may change after reopening or reloading the table, depending on the row sorting.
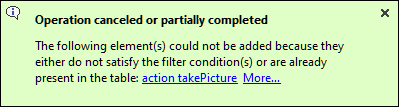
- If the dropped elements do not comply with the filter conditions specified for the table or the elements are already added to the table, the elements are not added to the table, and the following notification is displayed.
Adding elements to the table via the Add New command
Create a new element and add it to the table.
To add elements to the table via the Add New command
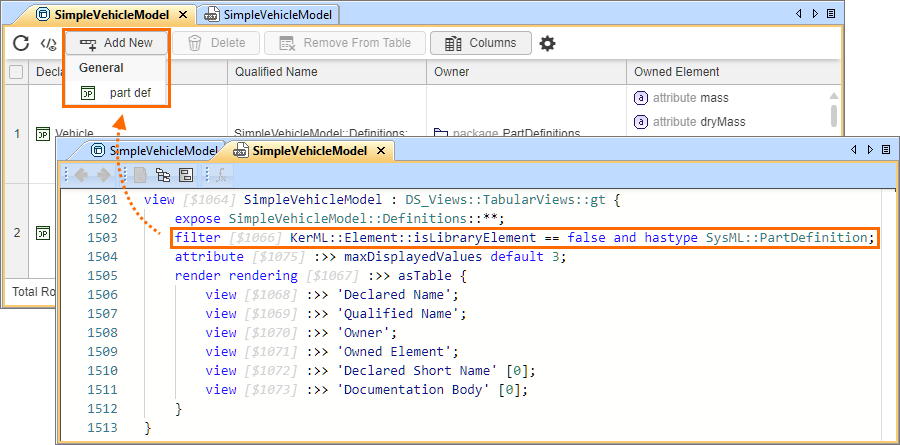
- In the tabular view's toolbar, click the Add New button, and in the dropdown menu, click the element you want to create and add to the table.
The element is created in the model and displayed in the table by exposing it.
- The Add New dropdown menu complies with the filters specified for the view. If certain elements are filtered out for the view, they do not appear in the dropdown menu.
- By default, the Element Creation dialog that is activated for the project is used to suggest elements to be created in the Add New dropdown menu. If you want a custom table-specific Element Creation dialog to be used in the specific table's (tabular view usage or definition) Add New dropdown menu instead, see the Custom table-specific Add New button dropdown menu page.
Hiding elements from the table
Hiding elements from the table filters out the selected elements from the table view without permanently deleting them from the table.
Hiding elements from the table via the Remove From Table command
To hide elements from the table via the Remove From Table command
- In a tabular view, do one of the following:
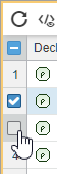
- In the numbering column, hover the cursor over the row number of the element you want to hide, and select the check box. You can select multiple elements. In the table toolbar, click the Remove From Table button.
- (Optional) To select all elements, select the check box in the header of the numbering column.
- (Optional) To select all elements, select the check box in the header of the numbering column.
- Right-click an element cell, and in the shortcut menu, click Remove From Table.

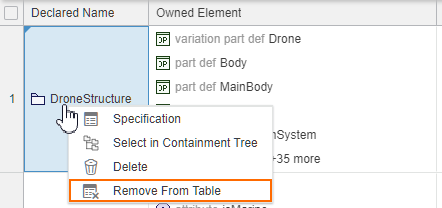
The row element is hidden from the table.
- In the numbering column, hover the cursor over the row number of the element you want to hide, and select the check box. You can select multiple elements. In the table toolbar, click the Remove From Table button.
Deleting elements from the table
Deleting elements from the table via the Delete command
To delete elements from the table via the Delete command
- In a tabular view, do one of the following:
- In the numbering column, hover the cursor over the row number of the element you want to delete, and select the check box. You can select multiple elements. In the table toolbar, click the Delete button.
- (Optional) To select all elements, select the check box in the header of the numbering column.
- (Optional) To select all elements, select the check box in the header of the numbering column.
- Right-click an element cell, and in the shortcut menu, click Delete.
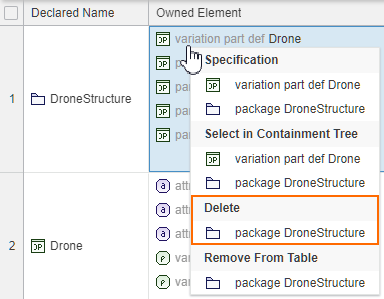
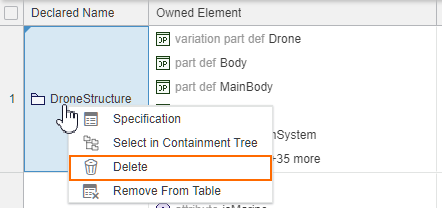
The row element is deleted from the table and the model.
- In the numbering column, hover the cursor over the row number of the element you want to delete, and select the check box. You can select multiple elements. In the table toolbar, click the Delete button.
Selecting table elements in the Containment tree
Selecting table elements in the Containment tree via the Select in Containment Tree command
To select table elements in the Containment tree via the Select in Containment Tree command
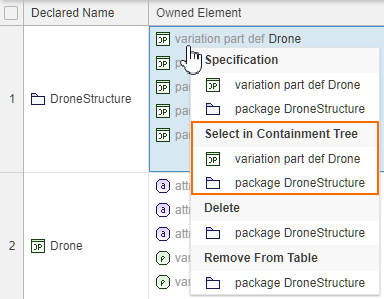
- In a tabular view, right-click the element cell, and in the shortcut menu, click the Select in Containment Tree command.
- If the cell is a ColumnByFeatureView column primitive-type cell (String, Integer, Boolean, Real) or a cell with Element or Enum values, the row element is selected in the Containment tree (click here to learn more).

- Otherwise, you can choose to select the row element or the cell value in the Containment tree (click here to learn more).
- If the cell is a ColumnByFeatureView column primitive-type cell (String, Integer, Boolean, Real) or a cell with Element or Enum values, the row element is selected in the Containment tree (click here to learn more).
Opening the Specification Panel for table elements
Opening the Specification Panel for table elements via the Specification command
To open the Specification Panel for table elements via the Specification command
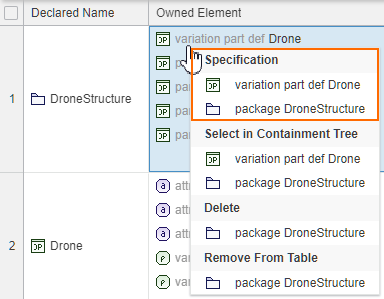
- In a tabular view, right-click the element cell, and in the shortcut menu, click the Specification command.
- If the cell is a ColumnByFeatureView column primitive-type cell (String, Integer, Boolean, Real) or a cell with Element or Enum values, you can open the Specification Panel for the row element (click here to learn more).

- Otherwise, you can choose to open the Specification Panel for the row element or the cell value (click here to learn more).
- If the cell is a ColumnByFeatureView column primitive-type cell (String, Integer, Boolean, Real) or a cell with Element or Enum values, you can open the Specification Panel for the row element (click here to learn more).