Modeling tools with Cameo Data Hub plugin makes it possible to link and share data using Open Services for Lifecycle Collaboration (OSLC) integration. In addition, you can publish the models you work with to Cameo Collaborator for Teamwork Cloud as OSLC resources. This allows you to see the OSLC UI previews of model elements in the environment of a synchronized tool, e.g., Doors Next Generation.
Publishing prerequisites
To be able to publish models to Cameo Collaborator for Teamwork Cloud:
- The Cameo Collaborator Publisher plugin must be installed in your modeling tool.
- You must log in to Teamwork Cloud.
- You need to have user permissions to publish models.
- The model you are trying to publish must be stored in Teamwork Cloud. If you want to publish a local model, first add it to Teamwork Cloud.
- If you intend to publish a large model, increase the default JVM heap size of the Cameo Collaborator Publisher plugin as follows:
Go to the <modeling tool installation directory>/plugins/com.nomagic.collaborator.publisher directory and open the publish.properties file.
Increase the -Xmx value, e.g., -Xmx4000M. It is recommended to set a larger heap size value than the one defined for your modeling tool.
Save and close the file.
- Depending on the size of the model you intend to publish, allocate a sufficient amount of memory to your modeling tool:
2 million element model - 24 GB of RAM
1 million element model - 15 GB of RAM
500k element model - 7 GB of RAM
To publish a model as an OSLC resource
Start your modeling tool and open the model you want to publish as an OSLC resource.
- In the main menu, select Tools > Cameo Collaborator > Publish to Teamwork Cloud.
- In the Cameo Collaborator Publisher dialog, specify the following properties:
- Document name - must be the same as the name of the model you are going to publish.
Category name - select the Teamwork Cloud category where the published document will be stored.
Scope - click
 and select one or several Packages containing the data you want to publish.
Template - select the OSLC template (recommended).
Selecting template
You can also select a custom template used or stored in your model. If your custom template has several views, only the first view will be published.
If you want the document to replace a previously published document with the same name, select the Update previously published project check box.
Select the Mark document as OSLC resource check box, as highlighted below.

Click the Publish button.
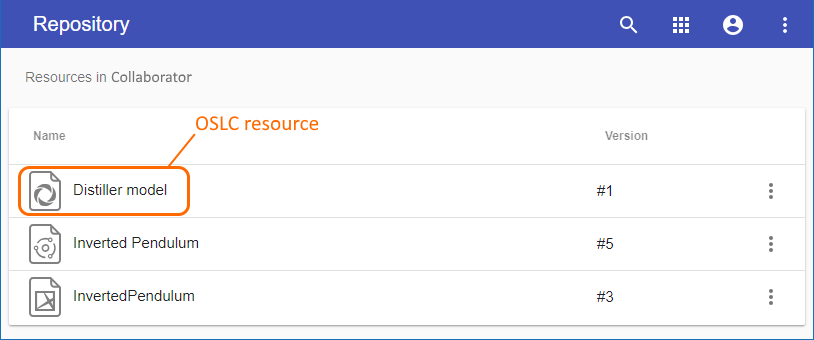
Wait until you get the message that the model is successfully published, as publishing a large model may take some time. Now you can open Cameo Collaborator for TWC and find the OSLC resource in the category you specified when publishing.