There are several ways to make an annotation for a class or a property appears in the Documentation pane any time you click the annotation in the Containment tree or in the diagram pane.
To show an annotation for a class in the Documentation pane when you click the class
- Drag the annotation (either on the diagram or in the Containment tree) to the class. (This makes it owned by the class.)
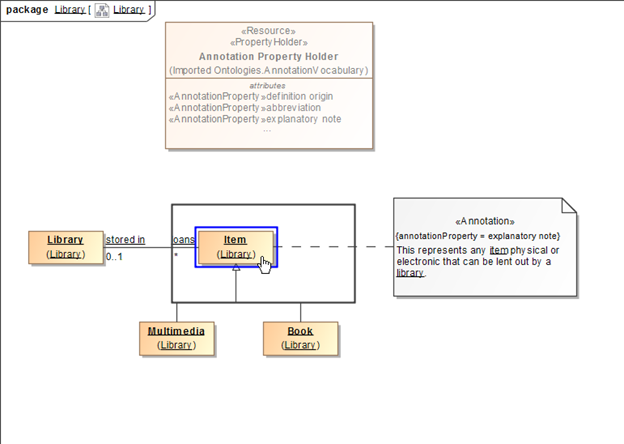
Click the class. The annotation will show up in the Documentation pane.
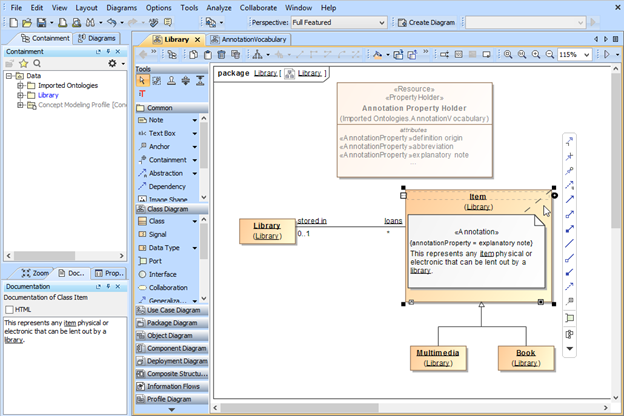 The annotation owned by the class shows in the Documentation pane.
To make an annotation for a property appear in the Documentation pane when you click the property
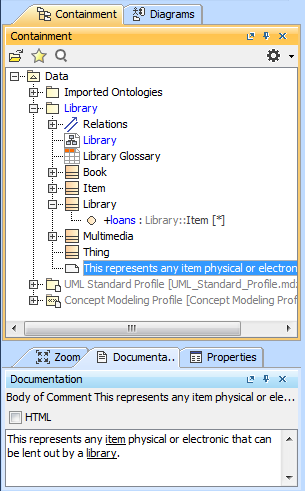
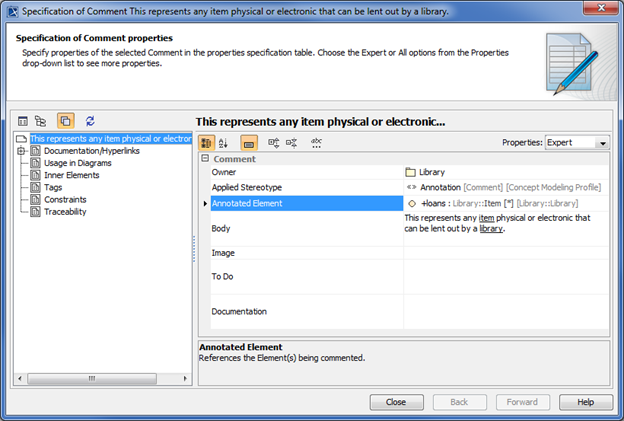
Double-click an annotation in the Containment tree to open its Specification dialog.
- In the Specification dialog, click
 next to Annotated Element. The Select Elements dialog will open.
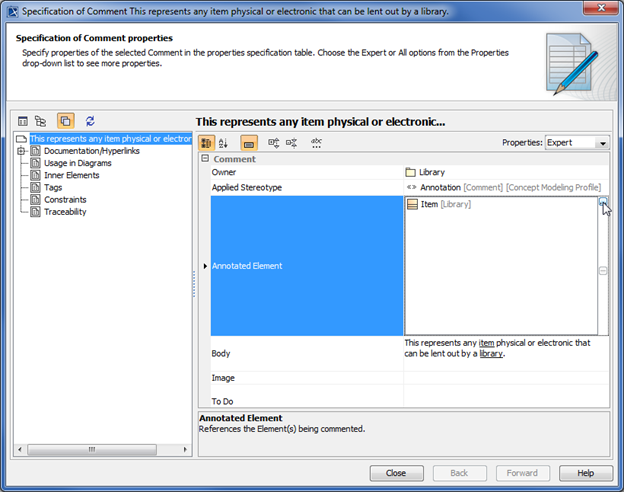
To remove a Selected Element, click
 . To add a Selected Element, click
  .
.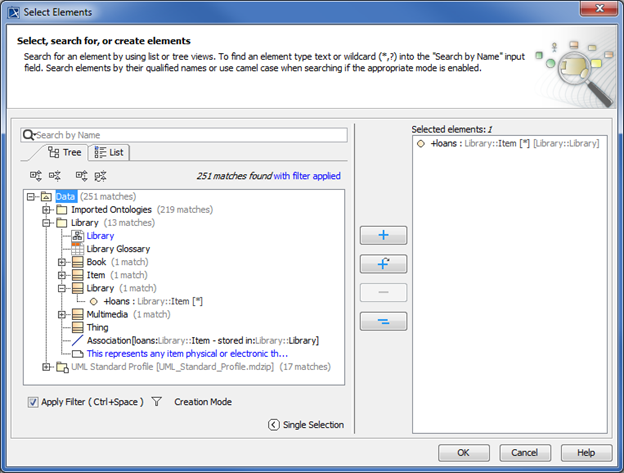
- Click OK. The Annotated Element of the annotation has been changed, in this example, from Item to loans.
- Click Close to close the Specification dialog.
Note
- If you drag more than one annotation to a class or a property, only the first created annotation will appear in the Documentation pane and in the class’ Specification window (under the Documentation/Hyperlink property).
- An annotation for a property will appear in the Documentation pane only if its annotated element is set to the property and its preferred annotation property tagged value is specified or updated.
- In this current release, only annotations that have been adjusted to show in the Documentation pane will appear in the Natural Language Glossary.