On this page
If the Start Web Server property of a Simulation Configuration is set to true, Cameo Simulation Toolkit will automatically generate HTML files from all used UI Configurations. This feature saves a lot of time because you are not required to manually export them to get those HTML files. You can then use UI Mockups instead of local UI Mockups and control your model simulation on a web browser from any remote device.
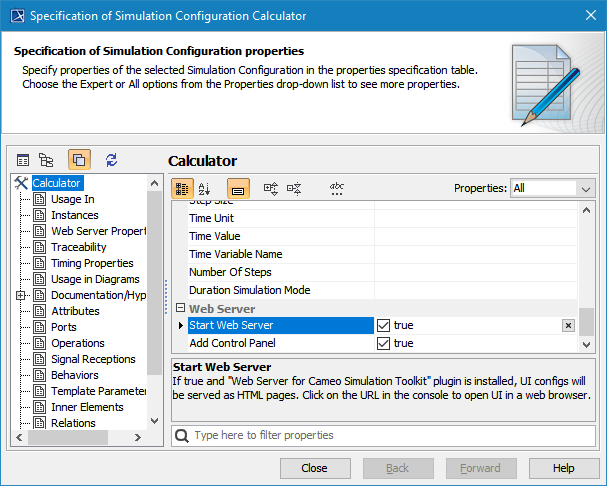
The Specification window of a Simulation Configuration with the Start Web Server property set to true to auto-generate HTML files.
When the Simulation Configuration is run, the built-in web server will start, HTML files with a hyperlink to each file in the local project folder will be generated, and a URL with a hyperlink will be shown in the simulation Console pane (regardless of the Options mode you are using in the Console pane).
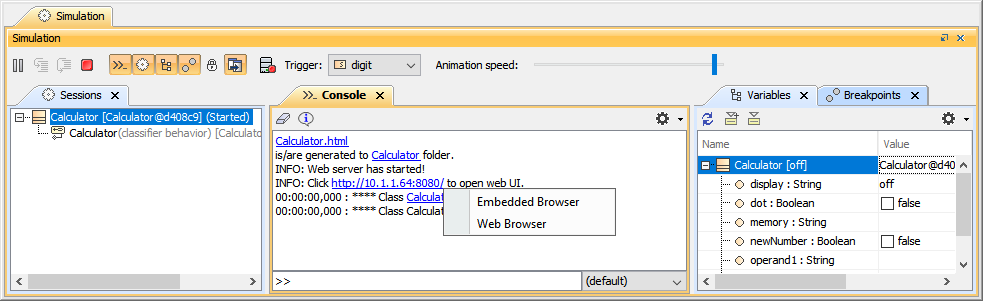 The web server notification, URL to open web UI, and browser types in the simulation Console pane.
Embedded browser
Clicking the URL opens a popup menu containing either an Embedded or Web Browser, where you can view and control the simulation through the Web UI. The Embedded Browser allows you to show any web pages in dock-able embedded windows in fixed places. These windows can be moved and docked, and will appear in the modeling tool window. When you open a saved project or re-run the project with the embedded browser option, those windows will automatically be shown in the same locations, States (docked/floating), and sizes. When the simulation is terminated, these windows will be closed automatically. To control the simulation through the web UI, you need to enable the Add Control Panel option.
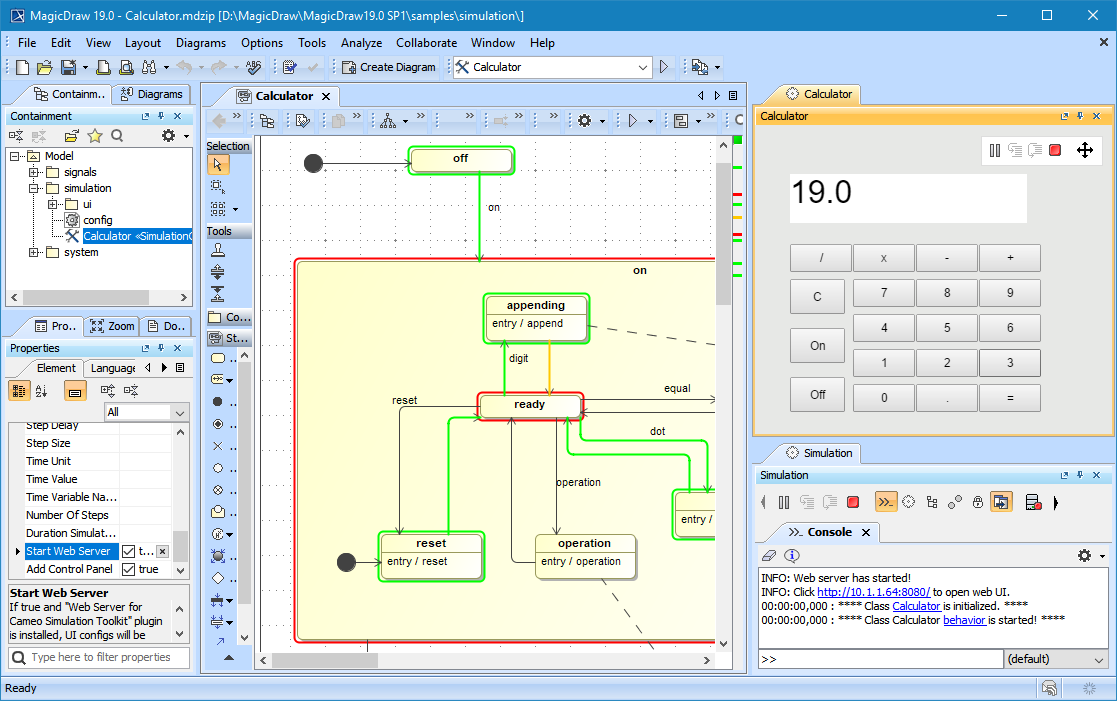 Embedded browser UI with Control Panel in modeling tool.
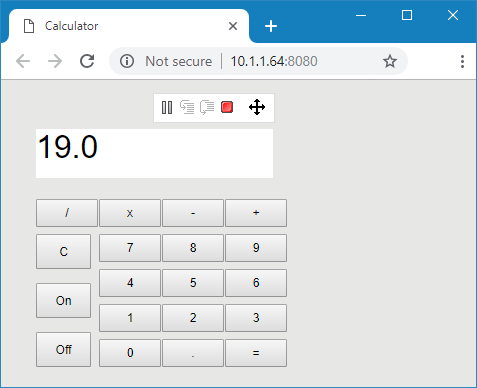 Web browser UI with Control Panel on Google Chrome.
To run a model simulation on the Web Server
- Double-click the Simulation Configuration to open its Specification window.
- Set the Start Web Server property to true.
- Click the URL in the Console pane to open a web-browser as the UI.
Important
- To prevent overwriting, HTML files will not be regenerated if they have been generated before.
- The HTML files will be generated after you customize the files (e.g., add a logo or change the text color or size), using the same filename.
- You can delete or rename the existing HTML files if you need them to be regenerated.
- Avoid duplicating the name of a «ui» object. If there are two «ui» objects of the same name (e.g. «frame»), only one of them will be auto-generated.
- If you input an illegal data type through the Web UI (embedded/web browser), a warning dialog will appear to warn you about the data type error (number/boolean). For example, you may see the following: IIIegal value, 'abc' is not a number.
Manually generating HTML files
Depending on the circumstances, you may want to manually generate HTML files for further customization of the web UI Mockups. You can manually generate HTML files through either the UI diagram or HTML supported controls using the Generate HTML command. However, if the files already exist, a warning message box will open to prevent you from accidentally overwriting them. All generated HTML files will be written and stored in the project's working directory.
To export a UI Modeling diagram from Modeling Tool to HTML5
- Double-click the UI Modeling diagram to open it.
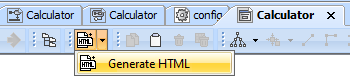
In the User Interface Modeling Diagram toolbar, click the Generate HTML button.
- If you get a warning that the file already exists, Click Yes, to replace the existing file, or click No to cancel the command.
After completing the steps above, you should get a notification that files were generated successfully.
Tip
Anyone with access to the network the web server is on will be able to access the web link via a web-browser.
Generating and attaching HTML files to Teamwork Cloud projects
You can easily generate and attach HTML files through the UI Modeling diagram (for only the server-side simulation), when the project is hosted on Teamwork Cloud.
To generate and attach HTML
In the User Interface Modeling Diagram toolbar, click the Generate and Attach HTML button.
This button is only available when the project is hosted on Teamwork Cloud.

If you get a warning that the file already exists, click Yes to replace the existing file or click No to cancel the command.
Every Frame/Table element will automatically generate HTML files that are zipped and attached under the element with the same name as the UI element name. You should get a notification in the Console tab with the list of all the files attached to the project.
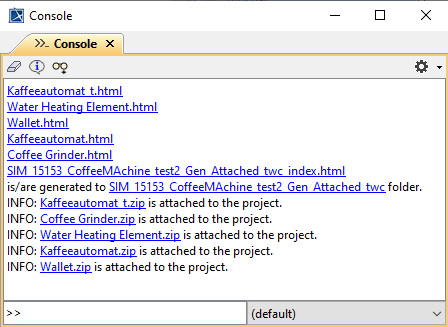
Every Frame/Table element zipped and attached under its element
The structure of the zipped file does not include reusable files of the Simulation, for example “js” folder, and “css” files.
Related page