After you open a project, you can start the CSV Import plugin by clicking File > Import From > Import CSV on the MagicDraw main menu. The Import CSV: Setup dialog, see figure below, will appear.
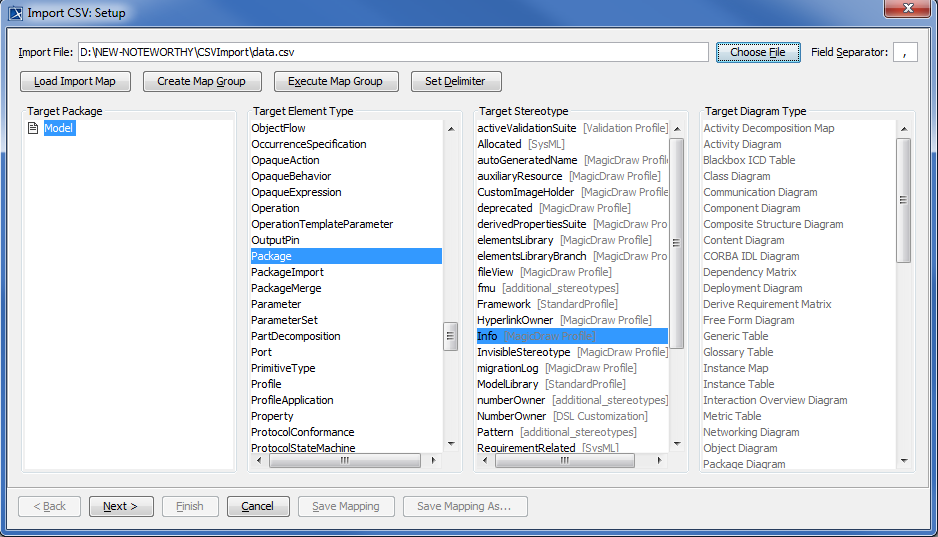
The Import CSV: Setup dialog allows you to:
- Choose a CSV file to import.
- Declare a field separator, (the default field separator is comma) if you want to use a character other than a comma in your CSV file.
- Select a
 . This is the package where the imported object(s) will be stored.
 - Select a
 .
. - Select which
 to apply.
 - Choose a
 (necessary if you choose target type of Diagram).
There is additional functionality available on the Import CSV Setup screen. The table below lists them all.
If you do not specify the owner property while importing, the package into which you import will become its owner by default.
| Element | Functionality |
|---|---|
 | The Choose File button allows you to browse and select a CSV file that you want to import into MagicDraw. |
 | The Field Separator text box displays the current field separator. |
 | The Load Import Map button opens the Model Imports dialog shown in the next row. |
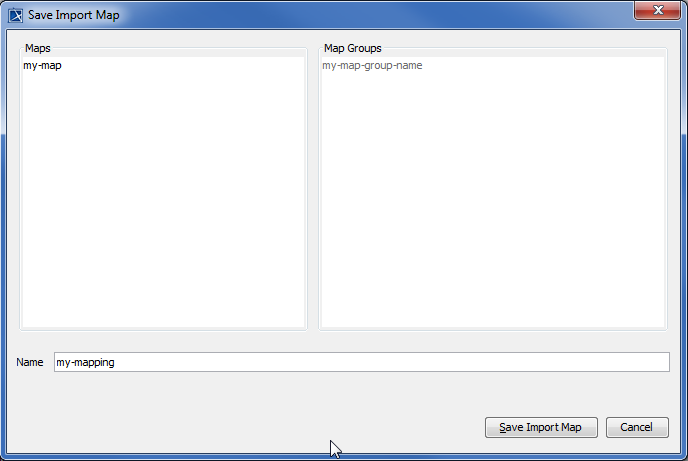 | This Save Import Map dialog allows you An import map in the Maps column contains
|
 | The Create Map Group button opens the Create Map Group dialog in the next row. |
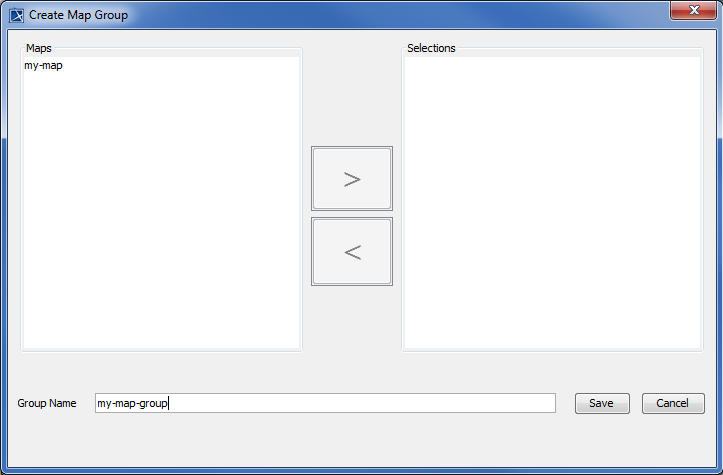 | A Map Group is a set of saved maps that The Create Map Group dialog lets you See section - Saving Your Choices – Save
|
 | Clicking the Execute Map Group button brings up the Model Imports dialog shown in the next row. |
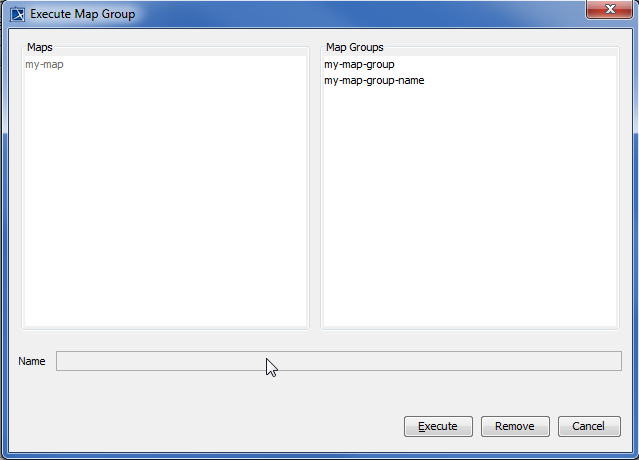 | The Execute Map Group dialog lists all the See section - Saving your choices – Load |
| Clicking the Load Import Map will bring up the dialog shown on the next row. |
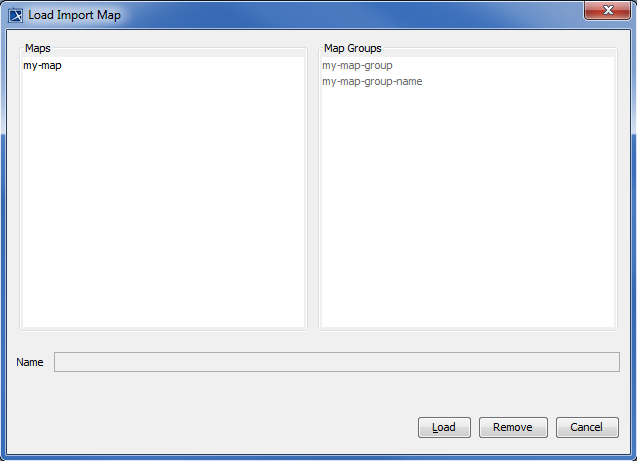 | The Load Import Map dialog, shown alongside, enables a user to load an Import Map or remove it from the Map Group. |
 | Clicking the Set Delimiter button will open the Set Delimiter dialog shown in the next row. |
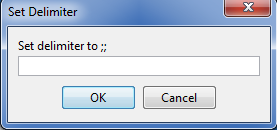 | A value within a single cell may assume multiple As opposed to the field separator which separates |
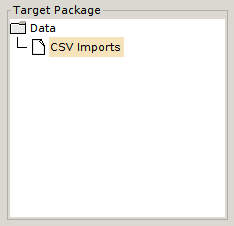 | This Target Package column allows you to select a package into which you wish to import the CSV file contents. |
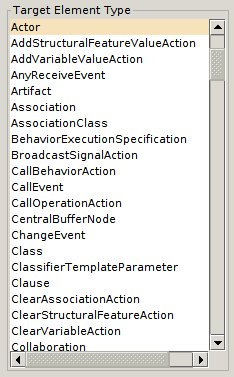 | The Target Element Type list allows you to select This type will be applied for all rows in your CSV file. |
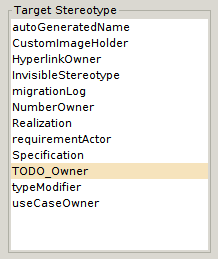 | The Target Stereotype list is a list of stereotypes Selecting the Target Stereotype is optional. Obviously, different target elements have different |
 | The Save Mapping As button enables you to save the mapping from the current import into the model. Clicking this button brings up a dialog which allows you to specify a name for the mapping. |
 | The Save Mapping button also brings up a dialog which enables you to save the mapping from the current import into your model. |
 | The Back and Next buttons are for navigating the CSV Import plugin wizard interface, the first screen of which is the Setup screen. Clicking Next will display the Mapping screen. |
 | The Finish button. This is enabled only after you have completed both the setup and mapping steps of the wizard. |
 | The Cancel button allows you to exit the CSV Import wizard interface. |