The Create Mapping menu in the Import Data from Excel and Create Mapping dialog is useful if after you have imported a schema class, you want to further map its properties to those of a target element in MagicDraw. Upon selecting which properties to map through the wizard, a mapping diagram will be created. A mapping diagram allows you to map the selected properties of the schema class and the target element using connectors.
The Excel Import plugin automatically maps properties whose attribute names are identical. You can see these attribute names mapped automatically using connectors in a mapping diagram. You may delete these mappings from the diagram if desired. Excel Import select all properties of a schema class for mapping by default.
To map a schema class imported from an Excel or CSV file to a target element in MagicDraw through the main menu
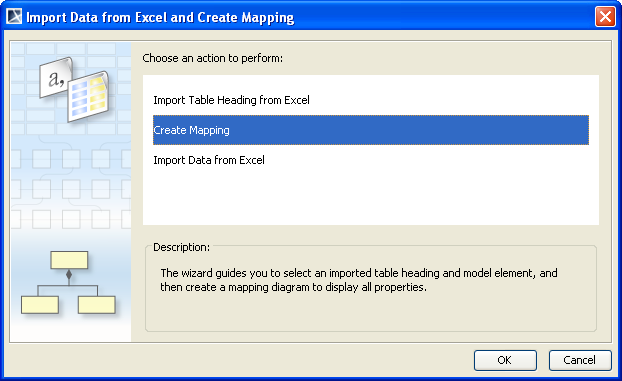
- Click File > ImportFrom > Excel/CSV File. The Import Data from Excel and Create Mapping dialog will open.
- Click the Create Mapping menu and click OK, see figure below.
- The Create Mapping wizard will open the first option page, as shown in the figure below.
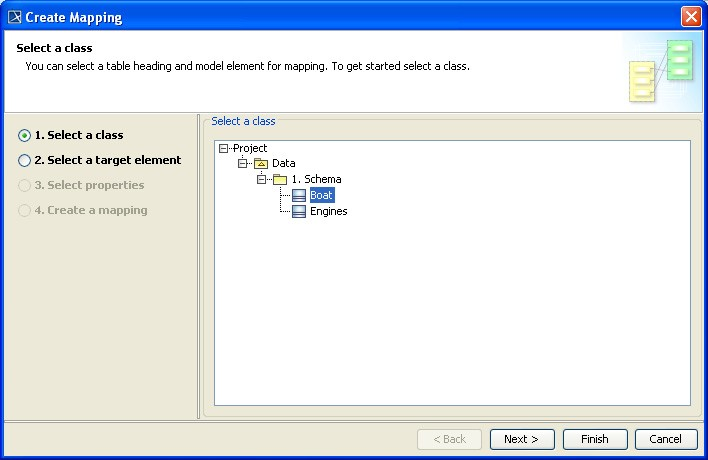
- Select a schema class that you want to map to an element from the treeview and click
 . The Select a target element option page will open, see figure below.
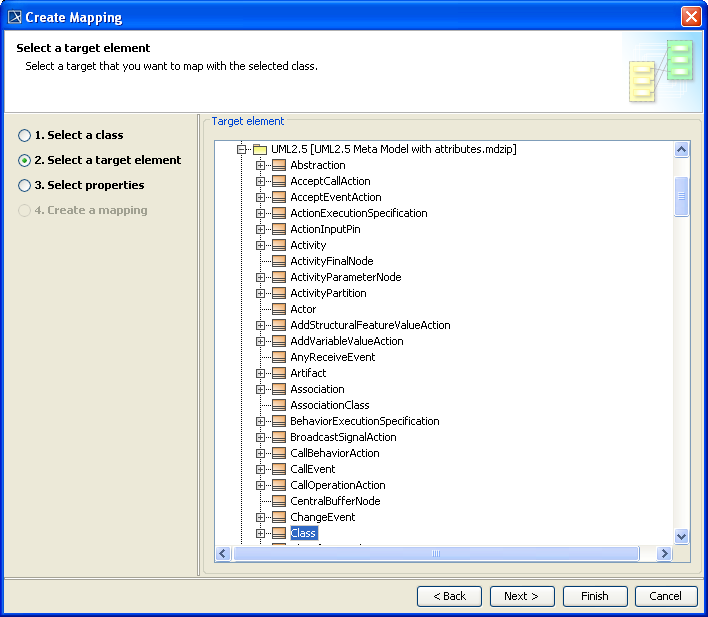
- Select a target element from the Target element tree, see figure above, that you want to map with the selected schema class. The available target elements are UML 2.5 (UML2.5 Meta Modelwith attributes.mdzip) profile for UML element, SysML profile for SysML element, or your own model.
- Once you have selected the target element, click either (i) or (ii)
 . If you click , skip steps 7-10.
If you click at this point, the wizard will:
- Use all properties of the selected schema class and the selected properties of the target element to create a class mapping.
- Name the mapping class and mapping diagram according to the following format <schemaName> mapping.
- Save the class mapping and mapping diagram at a location where the schema class is stored.

7. Select the properties of the selected target element to map with the selected schema class. You may select multiple properties.
8. Click either (i) or (ii) . If you click , skip steps 9-10.
If you click at this point, the wizard will:
- Use all properties of the target element you have selected to create a class mapping.
- Name the mapping class and mapping diagram according to the following format <schemaName> mapping.
- Save the class mapping and mapping diagram at a location where the schema class is stored.
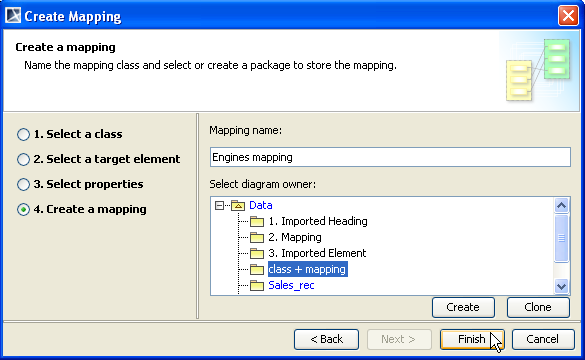
9. Name the to-be-created class mapping in the Mapping name text box and select a package that will contain the class mapping and diagram from the treeview, see figure above.
10. Click . The new mapping diagram will appear in the Containment tree and on the diagram showing the mapped properties of the schema class and the element.