Data markings allow you to classify resources, categories, users, and user groups with custom-defined access levels. You can define hierarchical, non-hierarchical (flat) classifiers, or a combination of both. This also means you can assign multiple data markings to a resource, category, user, or group.
In order to use data markings, you need sufficient permissions, either the Mark Data permission assigned to the Data Markings Manager role or the Configure Data Markings permission assigned to the Security Manager role.
Enabling data markings
To use data markings, you must enable them in the Settings app, where you can also create, reorder, edit, and remove data markings.
If data markings are not enabled on the server, only RBAC data access restrictions are applied. Once enabled, data markings act as the initial guard in determining whether a request to see/open a resource should be allowed to undergo the further usual RBAC access rules checks.
To enable data markings
- In the Settings application, go to the Data markings page.
- Choose the Enable data markings option.
Once you enable data markings, you see the data markings configuration page:
![]()
Data markings configuration page.
Creating data markings
Once you enable data markings in the Data markings configuration page, no data markings are shown. You have to create them first. Before creating any data markings, you first have to create a data marking group.
To create a data marking group
- In the Settings application, go to the Data markings configuration page.
- Click
 at the bottom right corner.
 - In the dialog that opens, enter the name of the data marking group.
- Choose the data marking group type.
- Hierarchical: This type of data marking group works hierarchically; i.e., the top-most data marking in the group reflects the most restrictive access level, while the bottom one is the least restrictive access level. The parent data marking allows access to data marked with child markings but not vice-versa.
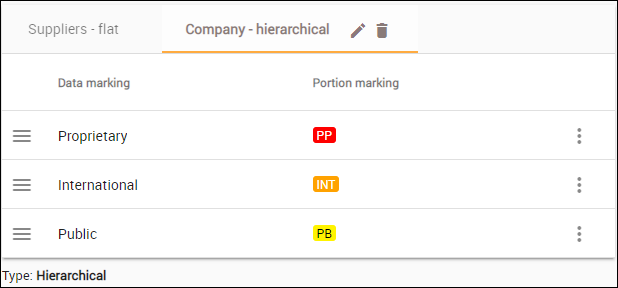
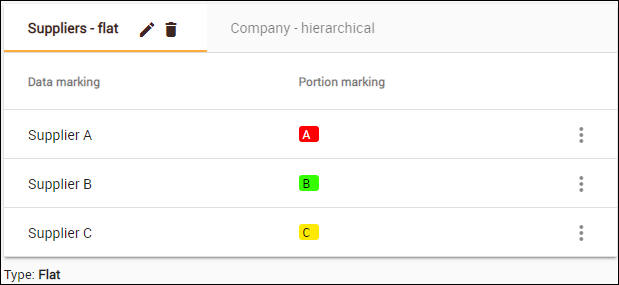
- Flat: These are non-hierarchical data markings. For example, in a data markings group Suppliers (Supplier A, Supplier B), a user may be marked with data marking Supplier A or data marking Supplier B. Data marking Supplier A does not grant broader access rights than data marking Supplier B and vice versa. This also means that both data marking Supplier A and data marking Supplier B can be assigned to the same user. In other words, entries in a flat data marking group act like tags.
- Hierarchical: This type of data marking group works hierarchically; i.e., the top-most data marking in the group reflects the most restrictive access level, while the bottom one is the least restrictive access level. The parent data marking allows access to data marked with child markings but not vice-versa.
- Click Create.
To create a single data marking
- In the Settings application, go to the Data markings configuration page.
- Click at the bottom right corner.
- Choose
 to create a single data marking.
 - In the dialog that opens, choose the Data marking group for the new data marking.
- Enter the name for the data marking in the Data marking field.
- Enter the abbreviated portion marking in the Portion marking field.
- Optionally, choose the color of the portion marking by clicking the palette icon.
- Click Create.
Reordering hierarchical data markings
As the name implies, hierarchical data markings work hierarchically, so their order in the table is important. Thus, the data marking at the very top of the table will have the broadest access rights and will include all of the levels below it. To change the restriction level of data markings, reorder them in the table.
To reorder data markings
- In the Data markings page select the hierarchical data marking group to reorder.
- Click the menu on the left side of the table:
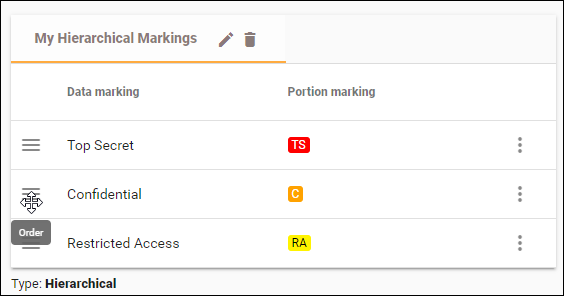
- Once the moving pointer appears, drag the data marking up or down to the preferred position.
Editing data markings
To edit data markings
- In the Data markings page select a data marking group.
- In the data markings table select
 .
. - Choose Edit .
- Make your changes in the dialog and select Save.
Deleting data markings
All data markings inside the deleted group will also be deleted. All users and resources will lose the data markings from this group as well.
To delete data markings
- In the Data markings page select a data marking group.
- In the data markings table select
 .
. - Choose Delete.
- Confirm by selecting Delete.