On this page:
Once you have successfully migrated your data to a new version of Magic Collaboration Studio, you must update the projects in the database as well. A project that is not updated will open in the read-only mode. When you open a project in a modeling tool, the following notification appears.
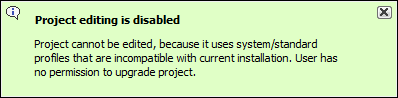
You will not be able to edit a project until you update the project to the latest version.
You can see the same notification in the Notification Window. Therefore, you must update the project before you can edit it.
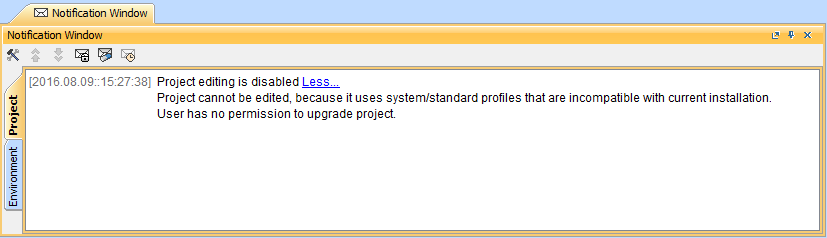 Editing a project that has not been upgraded to the latest version is not allowed.
- To upgrade a project by migrating it, you need the Administer Resources, Edit Resources, Edit Resource Properties, and Read Resources permissions.
- While a project is being migrated, other users are prevented from any modifications in that project. We highly recommend that the same person migrates all projects.
Migrating server projects automatically
To migrate server projects automatically
- Start the modeling tool and log in to the server.
- From the Collaborate menu, select Migrate Project to Version X. The dialog Migrate Project to Version X opens.
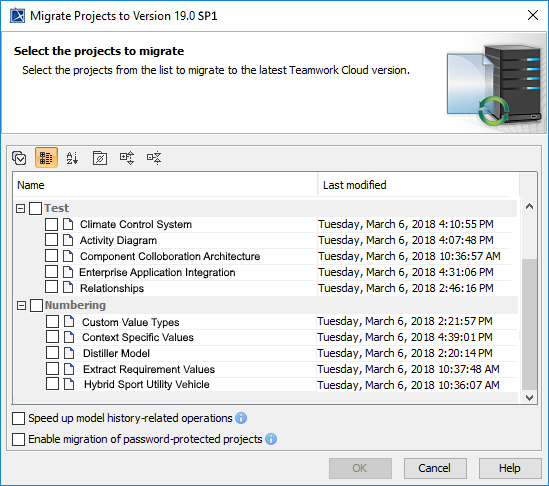
Select projects to migrate. Do one of the following:
On the dialog toolbar, click
 to select all server projects.
Select a category (or categories) to migrate with all projects inside it.
Select separate projects from category (or categories).
There are two cases regarding the migration of UAF and UPDM projects:
- If you are performing the UPDM project migration from the modeling tool with the UPDM environment, only the project version will be migrated.
- The UPDM project migration from the modeling tool with the UAF environment will not be performed. However, if you want to migrate the UPDM project to UAF, you need to open the magicdraw.properties (or cea.properties) file and change the value of the system property -Dmigrate.project.from.updm2.to.uaf\=false to True. By default, the value of this property is False, which means, that your UPDM projects will not be migrated.
- Select Speed up model history-related operations if you want to upgrade caches of earlier model revisions on the server. This is useful if your modeling workflow includes using historical model versions; however, this option may slow down the migration process.
- Select Enable migration of password-protected projects to enable selection of password-protected projects. During the migration process, you will be prompted to enter a password for each of the password-protected projects you selected to migrate. If this option is not selected, after the project migration is completed, you will get a message with a list of password-protected projects that were not migrated. You must migrate those projects manually.
After the project migration is completed, you will either get a message about successful project migration or a list of projects that were not migrated. You must migrate those projects manually.
Migrating server projects manually
To migrate server projects manually (for a user role with the Administer Resources permission)
- Start the modeling tool and log in to the server.
- On the main menu, click Collaborate > Projects. The Manage projects dialog opens.
- Select a project and click Open. A dialog prompts you to update the System/Standard Profiles in the project to allow project editing.
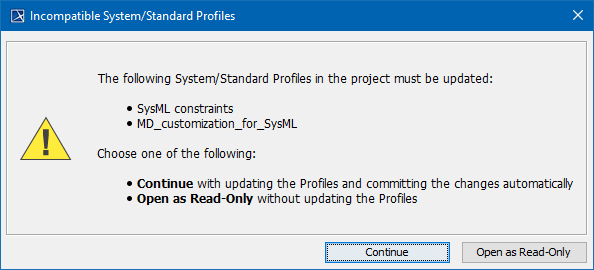
- Click Continue. After the System/Standard Profiles are updated, the modeling tool opens a notification showing that the model was successfully updated.
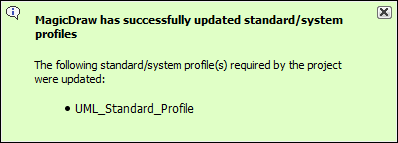
You can also see the same notification in the Notification Window.
You can open the Notification Window by pressing Ctrl + M or clicking Window > Notification Window.
