eport Wizard uses templates to generate reports. Each report file format depends on the type of template files. The type of template files that Report Wizard supports includes plain text, RTF, HTML, Office Open XML (ISO/IEC 29500:2008), OpenDocument format (ISO/IEC 26300), and XML template (DocBook or FO).
Report Wizard provides predefined templates such as Use Case, Model Extension, Data Dictionary, IEEE 1233, Class Specification Diagram, Business Process Diagram, and Web Publisher templates. The report template management pane in the Report Wizard dialog lists all of the report templates from which you can select to manage or generate your report.

There are many template options, which are highlighted in orange, available to choose from in the Report Wizard dialog.
Using the Template Management Pane
In this pane, you can create a new template, or use an existing one. The following table displays the buttons from which you can choose while working with your template. Additionally, the control buttons in the lower part of the dialog  ,
,  , and
, and  help you cancel an action, go to the next step, and generate a report.
| Button | Function |
|---|---|
| Opens the New Template dialog through which you can create a new template. | |
| Edits a template and saves it in Report Wizard. | |
| Deletes a template from Report Wizard. | |
| Opens a template file in the default editor. | |
| Creates a new template variable and modify or delete an existing template variable in the Template Variable dialog. | |
 | Clones a selected template. |
Copies a selected template and adds it to the project file. | |
 | Extracts an attached template to a local report templates folder. |
| Imports a template. | |
| Exports a template |
Working with a Template
The following instructions illustrate how to use each button in the Report Wizard to create, select, and manage a template.
- On the MagicDraw main menu, click Tools > Report Wizard. The Report Wizard dialog will open.
Click
 . The New Template dialog will open.
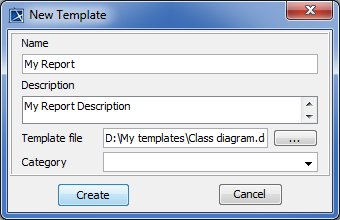
Creating a new template in the New Template dialog.
- Enter the template name and description.
- Click
 to select the location of the new template.
 - Select the template file location and click
 .
. - Click
 . The template file will be created in the Select Template pane.
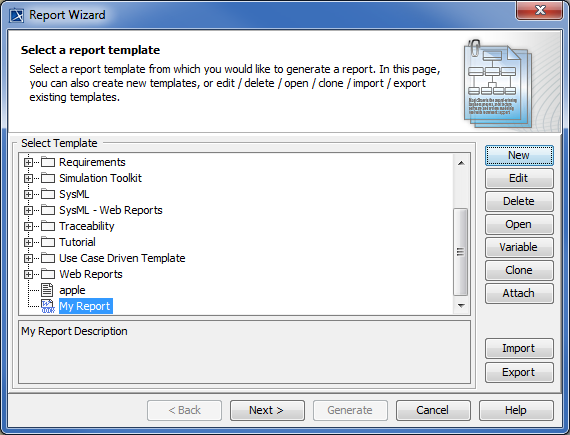
The template file is created in the Select Template pane.
In the Report Wizard dialog, select a template and click
 . The Edit Template dialog will appear.
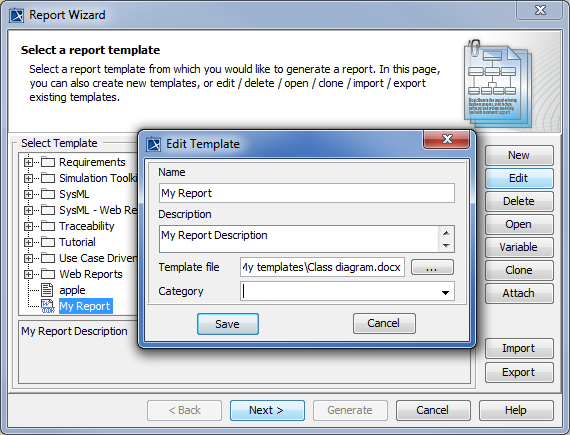
Editing a template in the Edit Template dialog.
- Edit the template name, description, category, and locate the template file’s location.
- Click
 .
.
- In the Report Wizard dialog, select a template and click
 . The Confirm delete dialog will appear.
 - Click
 to delete the selected template from the template list, or click
  to cancel the operation.

The Confirm delete dialog
In the Report Wizard dialog, select a template and click
. The Clone Template dialog will appear.
Cloning a template in the Clone Template dialog
Enter the name and description. The name of the cloned template should begin with Copy of (name of template).
- Click to clone the template.
- Select a template in the Report Wizard dialog.
- Click
 to make a copy of the selected template and add it to the project’s files, so anyone with access to the project can generate a report.

The steps to attach a template to a project file.
The new template will be created and displayed in the Report Wizard dialog and the Containment tree.

Result of attaching a template in the Report Wizard dialog.
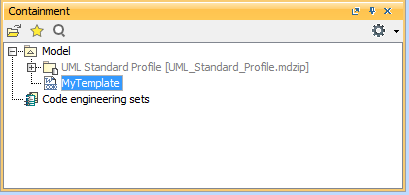
Result of attaching a template in the Containment tree.
You can right-click the attached template in the Containment tree, and select Generate Report{attached template name} to open the Report Wizard dialog.
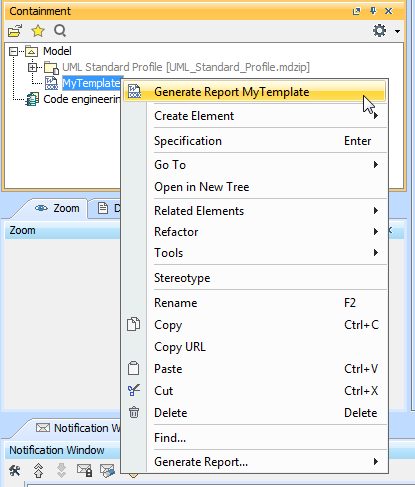
Opening the Report Wizard dialog via attached template in the Containment tree.
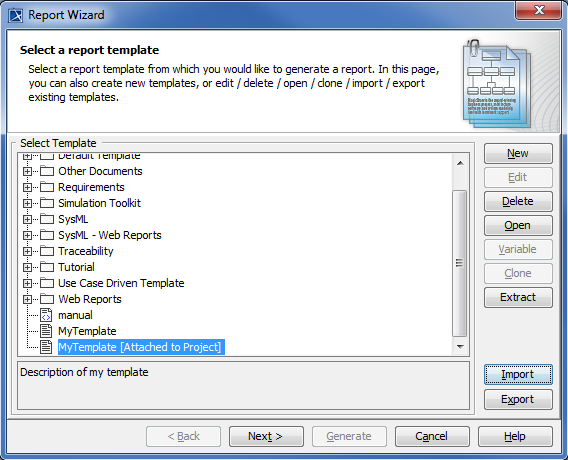
The Report Wizard template selection dialog
Note
- In the Report Wizard dialog, when you select the attached template, the button will be changed to button.
- You can use the button to extract the attached template to the local report template folder. After you finish editing, you can use the button to re-attach the updated report template to your project.
- Select an attached template in the Report Wizard dialog.
- Click to extract the attached template to the local report template folder.
- If the template already exists in the local report template folder, a confirmation dialog will be displayed.

The confirmation dialog when you extract a template.
- Click to extract the template. The attached template will be extracted to a local template.
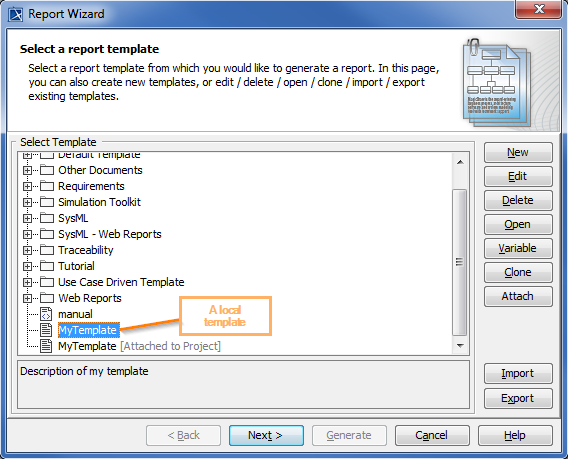
A local template in the Report wizard's template selection pane.
- After you finish editing, you can use the button to re-attach the updated report template to your project.
- You can remove an attached template from a project by selecting it and clicking .
In the Report Wizard dialog, click
 . The Select Location dialog will appear.
Selecting the location to import a template.
Select a Report Wizard template with the filename extension *.mrzip and click
 . The following Message dialog will open.
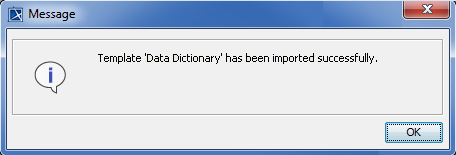
The Message dialog of a successful import.
In the Report Wizard dialog, select a template and click
 . The Select Location dialog will open.
Selecting a location to export the template.
Select a directory or folder location in which you want to export the template.
Type the filename and click
. The Message dialog will open.- Click
 .
.
The Message dialog of successful export.
- In the Report Wizard dialog, select a template and click . The template file will open in the default editor.
Working with a template variable
A template contains variables and their values. You can create a new template variable, and modify or delete an existing template variable in the Template Variable dialog. You cannot modify the variables of a built-in template. You can only create or modify a template variable of a user-created template.
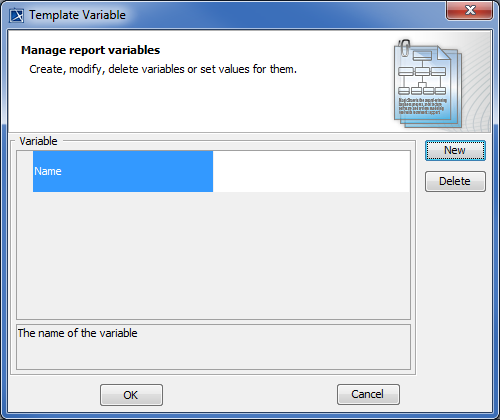
The Template Variable dialog
The Template Variable dialog, contains the following:
- Variable pane: This pane consists of a table in which the first column is the variable name, the second column is the variable value, and also includes a report description field. You can view and directly edit the value of a selected variable in the second column.
- Control buttons: and
 .
.
The following instructions explain how to manage the variables of a template.
Select a template in the Report Wizard dialog and click
 . The Template Variable dialog will open.
Click
. The New Variable dialog will appear.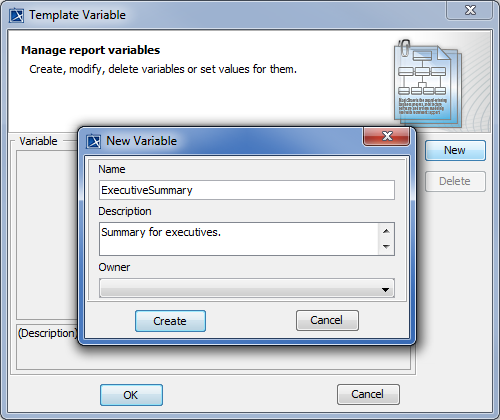
Creating a new variable in the New Variable dialog.
Enter the variable name (no space between characters) and description.
Select an owner for this new variable from the Owner drop-down list (optional).
Click
. You will see the newly-created variable’s name and value in the Variable pane.In the Template Variables dialog, click
.
You can modify a variable value in either the Template Variable dialog or Variable value dialog.
How to modify a value in the Template Variable dialog
Select a template in the Report Wizard dialog, and click Variable to open the Template Variable dialog.
Double-click the Variable value column and modify the value in the column.
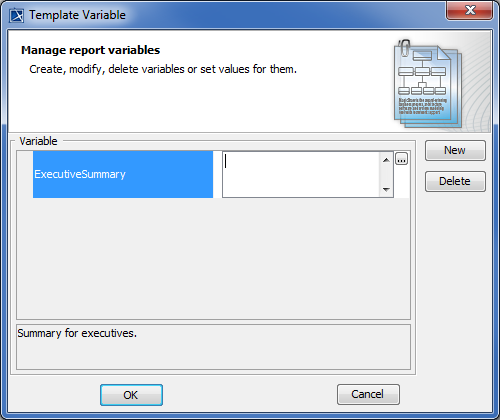
Editing a variable value in the Template Variable dialog.
Double-click the Variable value column in the Variable pane in the Template Variable dialog, and click the
button. The Variable value dialog will open.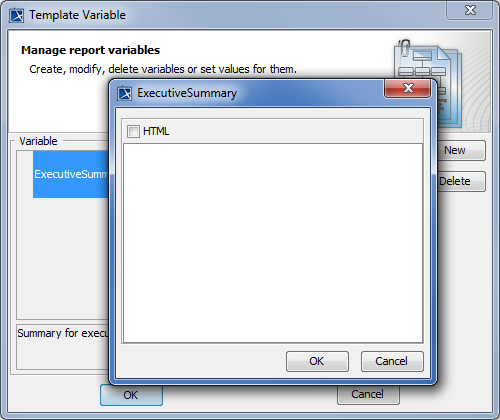
Editing a variable value in the Variable value dialog.
To modify the variable value, you can enter the value of a report variable either in plain text or HTML by selecting the HTML check box in the Variable Value dialog.
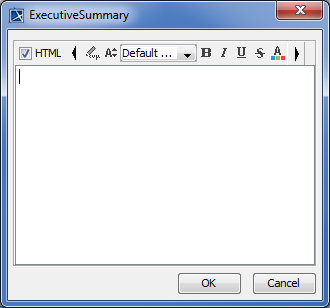
Entering a report variable value in HTML.
- Click .
- When you finish modifying variables and their values in the Template Variable dialog, click either to confirm the changes or to discard them.
- Select a variable in the Template Variable dialog and click . The Question dialog will appear prompting you to confirm before deleting the selected variable.
Click
to delete the selected variable.
Deleting a variable