The installer file includes both Teamwork Cloud (TWCloud) and Teamwork Cloud Admin (TWCloud Admin) in its installation package. Once the installation completes, you will have both TWCloud and TWCloud Admin installed on your machine.
Warning
If the installation path contains any of the following characters, like '[', ']', '(', ')', '!', '@', '#', '$', '#', '%', '{', '}', '+', '=', or ';' the installation procedure cannot be completed successfully and the login page will not load. If, for example, the installation path is C:\Program Files\TeamworkCloud, which does not contain any of the special characters, the installation will not fail.
To install TWCloud by using the installer file on Windows
- Download the installer, twcloud_190_sp1_installer_win64.exe.
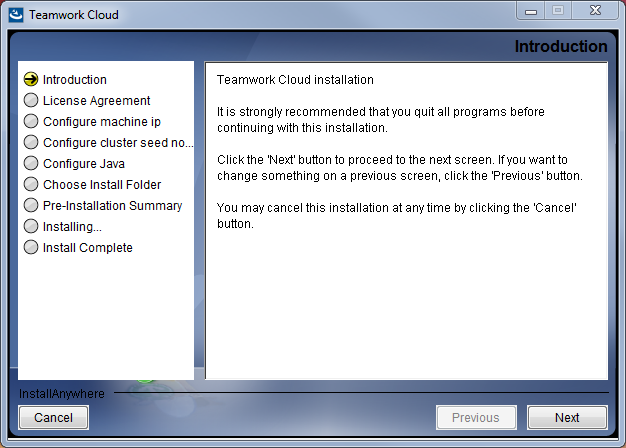
- Right click on the downloaded installer and Run as administrator. The Introduction section will open.
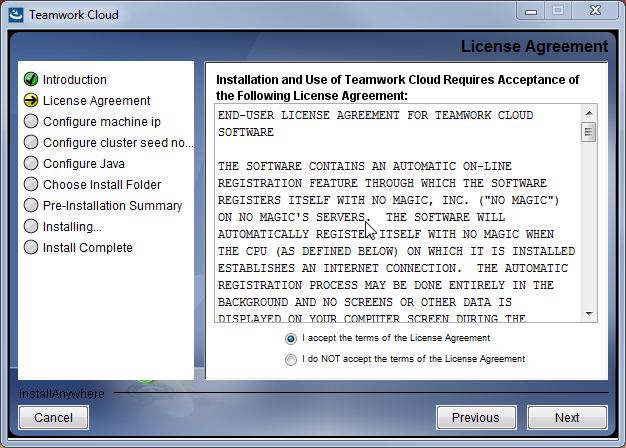
- Click . The License Agreement section will open.
- Accept the license agreement terms and click .
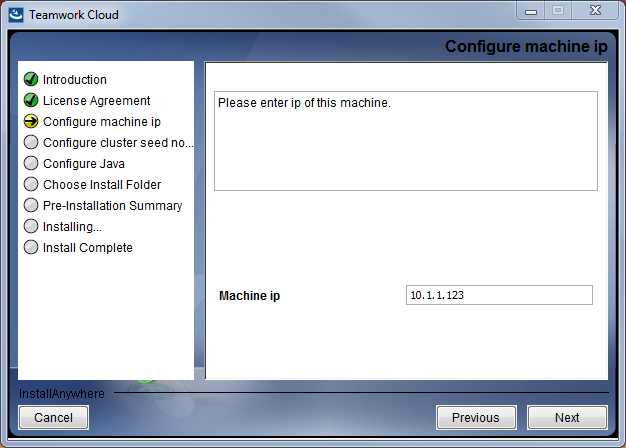
- Type the name or IP of the machine on which you want to install TWCloud and click .
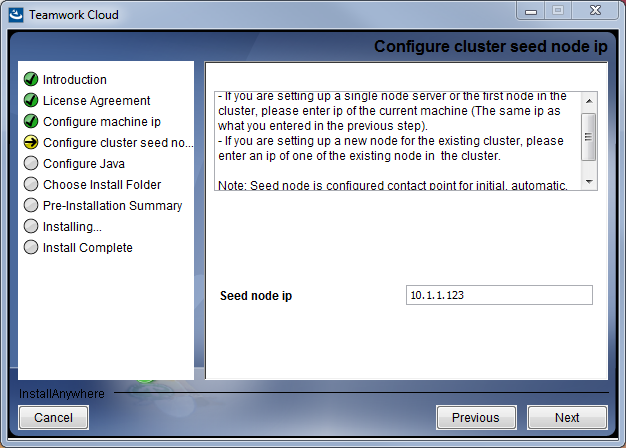
Enter the node IP. If your machine is a single node server or the first node in the cluster, enter the IP of your machine,
Select the Java VM installed on your machine for running TWCloud, for example, C:\Program Files\Java\jdk1.8.0_192\bin\java.exe, and click .
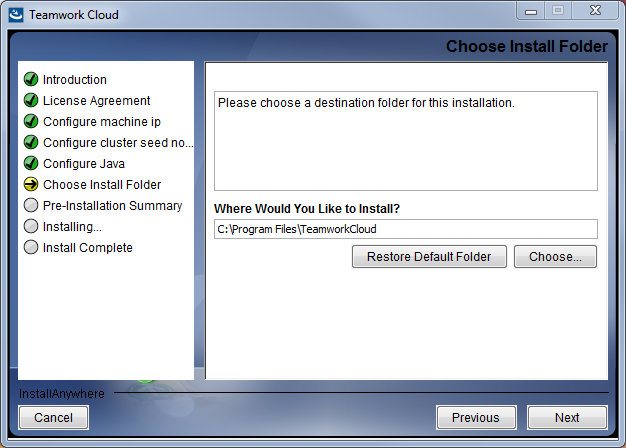
Select a location on your machine where you want to install TWCloud and click . The Pre-Installation Summary section will open.
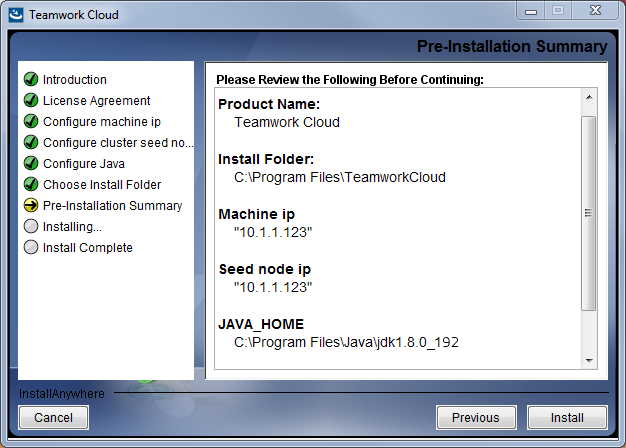
- Check if everything is correct.
Click . The installer will install TWCloud on your machine.
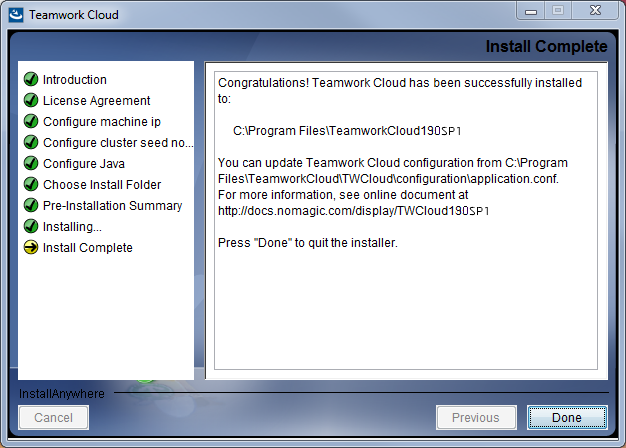
Upon successful installation, click to close the installation window.
Edit the configuration file: C:\Program Files\TeamworkCloud\configuration\application.conf. Search for seeds = , located under the section for the persistence Cassandra section, and replace: localhost with: ip_address_of_cassandra_node. Search for server =, located in the esi.auth section. Please remove the "#" sign and enter the IP address or FQDN (if accessing via FQDN) of your server.
If you are accessing Teamwork Cloud Admin via its FQDN, edit the configuration file: C:\Program Files\TeamworkCloud\AuthServer\config\authserver.properties. Search for server.public.host and replace the IP address with the FQDN. Search for authentication.redirect.url.whitelist, and append the following to the entry, https://FQDN:8443/webapp/
Edit the configuration file for TWC Admin Console: C:\Program Files\TeamworkCloud\WebAppPlatform\shared\conf\webappplatform.properties.
- twc.admin.username - Set it to the username of a local account with Administrator privileges (default is Administrator)
- twc.admin.password - Set it to the password corresponding to the Administrator user (default is Administrator).
- If you changed the pswd field in C:\Program Files\TeamworkCloud\configuration\application.conf from the default, you must modify this file accordingly. Search for authentication.client.secret.and replace the CHANGE_ME value with the same value as that in application.conf.
Please create a an entry in C:\Windows\System32\drivers\etc\hosts containing the local IP address and the FQDN of your machine, if accessing via FQDN. For example, if your IP address is 10.1.1.123 and your FQDN is mymachine.mydomain.local, it would be in the form:
10.1.1.123 mymachine.mydomain.local
Open an administrative command prompt and issue the following commands in order to create service dependencies:
sc config authserver depend= teamworkcloud
sc config webapp depend= teamworkcloud



8 Comments
user-448c7
Aug 30, 2017Check the version.
user-1438d
Aug 31, 2017alright, I will change it to be 19.0 beta.
user-448c7
Aug 31, 2017Sorry, Mimi, this was a comment to myself.
user-448c7
Aug 31, 2017Thank you for changing it!
user-444a9
Oct 23, 2018beta → sp1
user-444a9
Oct 23, 2018https://FQDN:8443/webapp/
user-444a9
Oct 23, 2018TWCloud Admin
user-444a9
Oct 23, 2018TWCloud Admin