The installer file includes both TWCloud and Web applications (Resources, Collaborator, TWCloud Admin) in its installation package. During installation you will be asked to choose from installation options. The short introduction about these optionsDuring installation, you can choose one of the following installation options:
Quick Install -
Quick install is
intended for simple collaboration scenarios where
Web
web-based collaboration is not a daily activity. It will install
Teamwork Cloud Server, Web Application Platform
Magic Collaboration Studio and all
of the
its web applications
(Resources, TWCloud Admin, Collaborator)
into a single machine.
Advanced Install -
Advanced Install is
intended for heavy-weight production use. It will allow you to choose
components to
what components to install: Teamwork Cloud Server and/or Web Application Platform (with all of the available web applications).
This
This installation option should be used when Teamwork Cloud Server is deployed
in
on a separate
machine from the Web Application Platform
machine from Web Application Platform.
Note
title
Prerequisites
Before installing Magic Collaboration Studio, do the following:
Make sure that your hardware and software meet the recommendedsystem requirements.
If the installation path contains any of the special characters, like '[', ']', '(', ')', '!', '@', '#', '$', '#', '%', '{', '}', '+', '=', or ';', the installation procedure cannot be completed successfully and the login page will not load. For example, if the installation path is C:\Program Files\TeamworkCloud, which does not contain any of the special characters, the installation will not fail.
To install Magic Collaboration Studio by using the installer file
Download the installer, Right-click the magic_collaboration_studio_<version_number>_installer_win64.exefor Windows (ormagic_collaboration_studio_<version_number>_installer_linux64.bin for Linux).Right click on the downloaded installer and file and select Run as administrator.
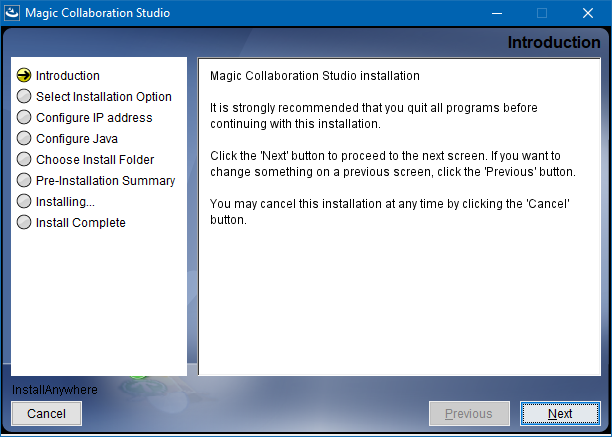
When the installation wizard opens, clickThe Introduction section will open. Click Next.
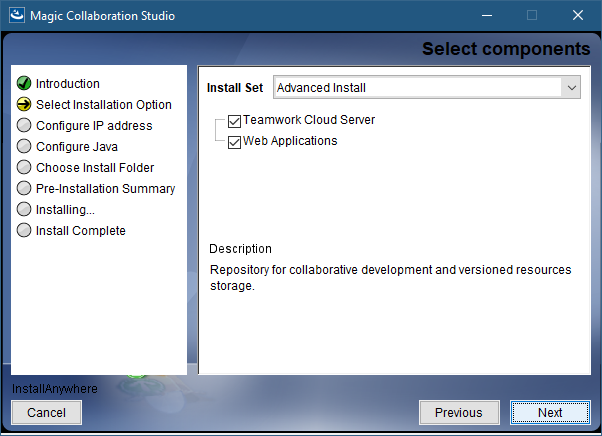
In Select Installation Option section select type of installationDo one of the following:
If you select Select the Quick installinstallation option, click Next, and go to step 45. If you select Advanced Install, select
Select the Advanced Install installation option and click Next.
Select the components you want to install and click Next.
Image Modified
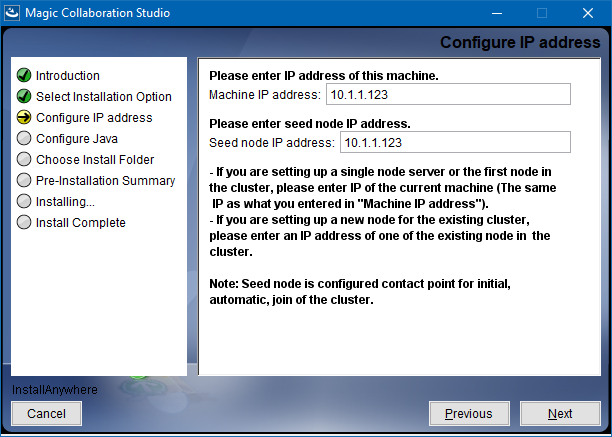
Configure the IP address:
Enter the name or IP of the machine on which you want to install Magic Collaboration Studio.
Enter the node IP. If your machine is a single node server or the first node in a cluster, enter the IP of your machine.
Click Next.
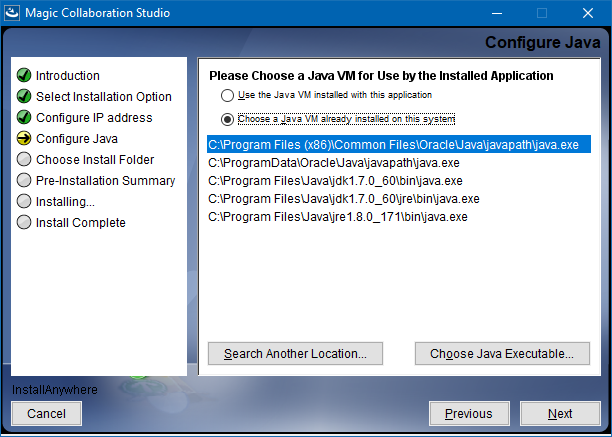
Select the Java VM installed on your machine for running Magic Collaboration Studio and clickNext Next.
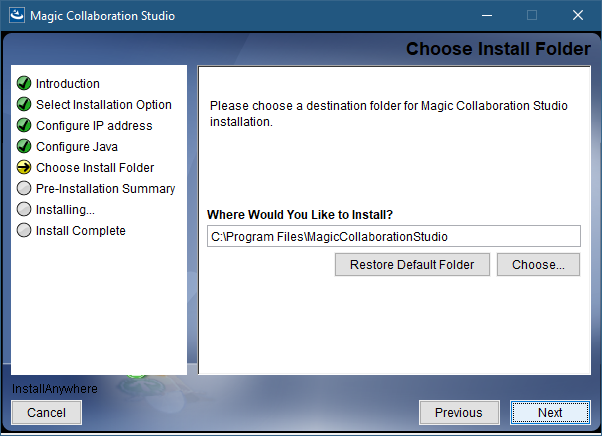
Select a location on your machine where you want to install Magic Collaboration Studio and clickNext Next.
Check the pre-installation summary and click Install.
Upon successful installation, click Done to close the installation window.
Open the Task Manager and start the following services:
AuthServer service
TeamworkCloud service
WebApp service
Note
title
Zookeeper service
The Zookeeper service starts automatically when starting the WebApp service.
Check if the system is working. You should be able to access Magic Collaboration Studio via https://FQDN:8443/webapp/.
Post-Installation configuration
Note
The installer has now created the preliminary configuration. If your system is still not operational and you cannot use Magic Collaboration Studio, check the configuration parameters as described below.
Edit the configuration file: C:\Program Files\MagicCollaborationStudio\configuration\application.conf. Search for seeds = , located under the section for the persistence Cassandra section, and replace: localhost with: ip_address_of_cassandra_node. Search for url =, located in the esi.auth section. Enter the IP address or FQDN (if accessing via FQDN) of your server.
If you are accessing TWCloud Admin via its FQDN, edit the configuration file: C:\Program Files\MagicCollaborationStudio\AuthServer\config\authserver.properties. Search for server.public.host and replace the IP address with the FQDN. Search for authentication.redirect.uri.whitelist, and append the following to the entry, https://FQDN:8443/webapp/
Please create a an entry in C:\Windows\System32\drivers\etc\hosts containing the local IP address and the FQDN of your machine, if accessing via FQDN. For example, if your IP address is 10.1.1.123 and your FQDN is mymachine.mydomain.local, it would be in this form: 10.1.1.123 mymachine.mydomain.local
Open an administrative command prompt and issue the following commands in order to create service dependencies:
sc config authserver depend= teamworkcloud
sc config webapp depend= teamworkcloud
Open the Task Manager and restart the authserver, teamworkcloud, and webappservices.
In your web browser, go to https://localhost:8443/webapp (if default options are used) to open Magic Collaboration Studio.