On this page
When you export a concept model as an OWL ontology file, there is also log in the Notification Window that provides you some helpful information regarding the details of the export, e.g., the action Concept Modeler has taken to solve the problem or any occurring issues it has when exporting the concept model.
The Notification Window is located at the bottom of the diagram you are working as shown in the figure below. In the Notification Window, the log is displayed and explains the details about the result of the export and what has happened after the export is completed or unsuccessful.
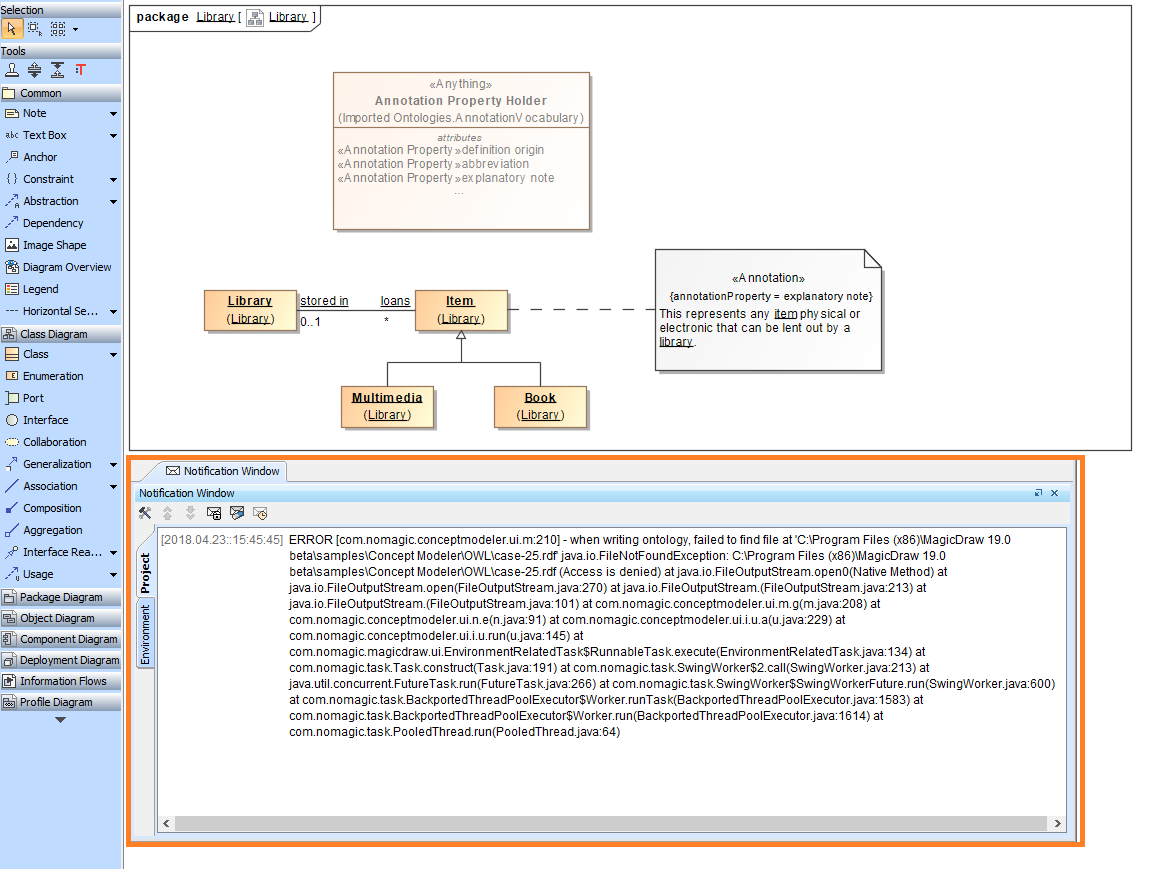
The log detail in the Notification Window at the bottom of the diagram.
The log's content differs under situations. The detail of some fatal errors, e.g., a denied access or permission to export the file, is displayed in the log and opens the message dialog informing you the result of the export, as shown in the following figures.
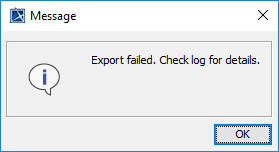
The message dialog showing the result of the export.
The problem of the denied access when exporting a concept model is explained in the log in the Notification Window.
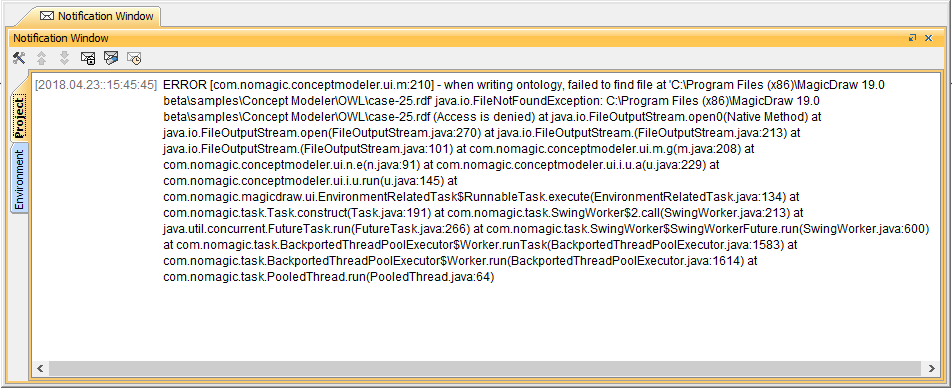
Some errors are displayed only in the log and allow the exporting process to be completed as shown below. In the log section, the exported destination path previously selected cannot be found. Therefore, Concept Modeler chooses the original path variable as the exporting location instead.

The problem of the exported destination path is explained in the log in the Notification Window.
Increasing and decreasing log levels
Apart from using log information to see the result of the export and diagnose any arising problems, you can increase or decrease log levels to customize the scope levels of log displayed in the Notification Window by changing the log level in ccmlogconfig.xml located in the MagicDraw installation folder.
To increase or decrease log level
- In the MagicDraw installation folder, open the data directory.
- Open ccmlogconfig.xml with any text editors.
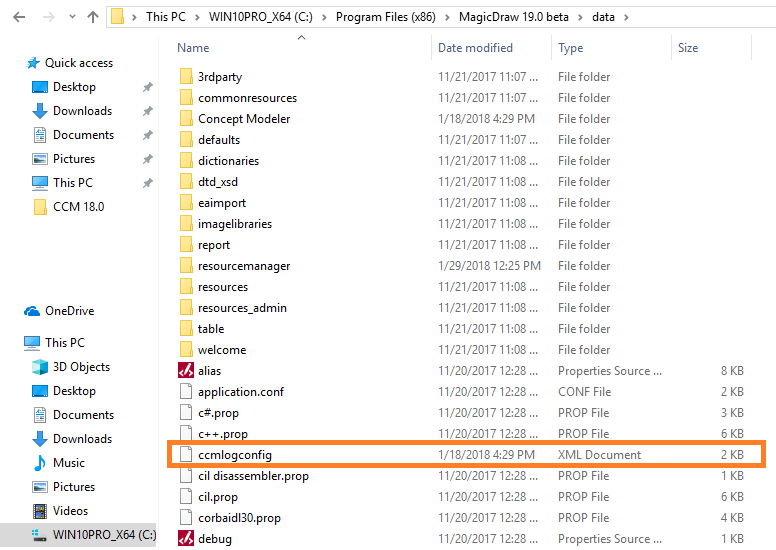
On the highlighted line shown in the figure below, change the log level to one of the five levels indicated in the comment above the line: TRACE, DEBUG, INFO, WARN, or ERROR.

Information
Log levels are as follows
- TRACE level shows all log information from the TRACE level to ERROR level.
- DEBUG level shows all log information from the DEBUG level to ERROR level.
- INFO level shows all log information from the INFO level to ERROR level.
- WARN level shows all log information from the WARN level to ERROR level.
- ERROR level shows log information only at ERROR level.
- On the main menu, click File > Save and close the file.