This page contains the instructions to integrate the authentication server with the ForgeRock application (ForgeRock is the company that develops open source identity and access management products for cloud, social, mobile, and enterprise environments). This documentation is based on ForgeRock version 13.0.0.
To integrate the authentication server with ForgeRock
Log into ForgeRock as administrator.
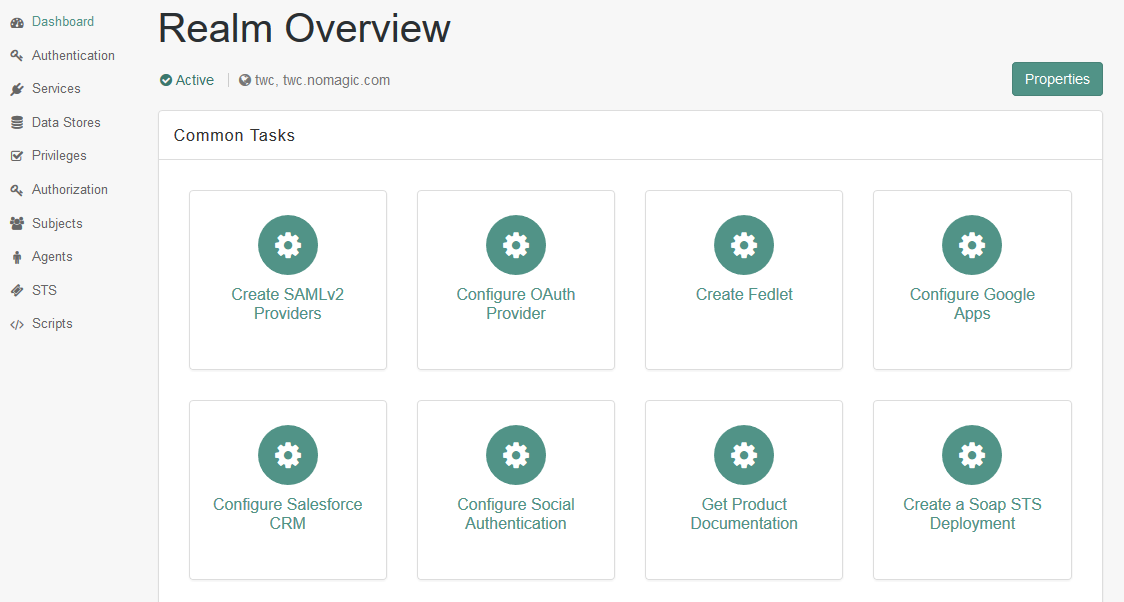
Either select or create the realm, which will be used for integration. Make sure that the realm uses statefull sessions. The realm in this example was "twc".
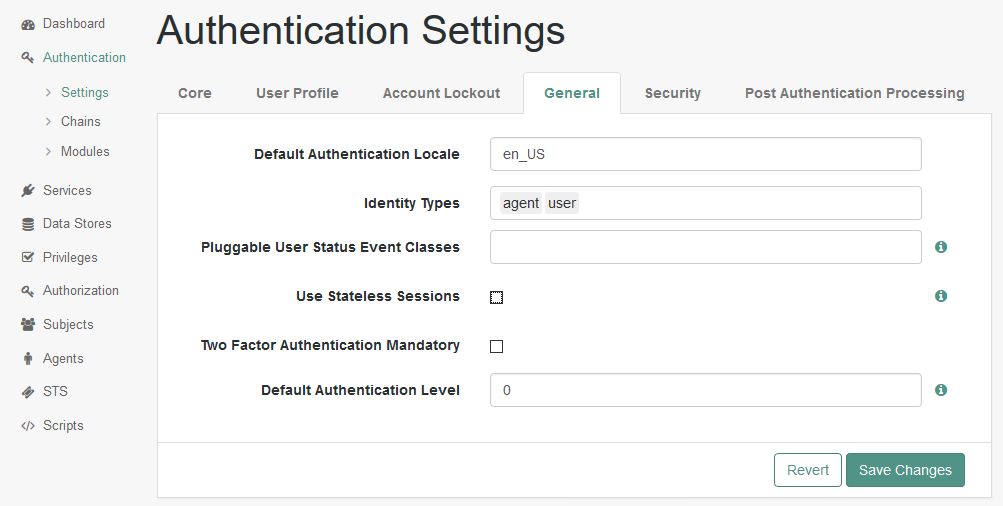
In the realm overview select Authentication > Settings.
Click the General tab and clear the Use Stateless Sessions check box.
Click Save Changes.
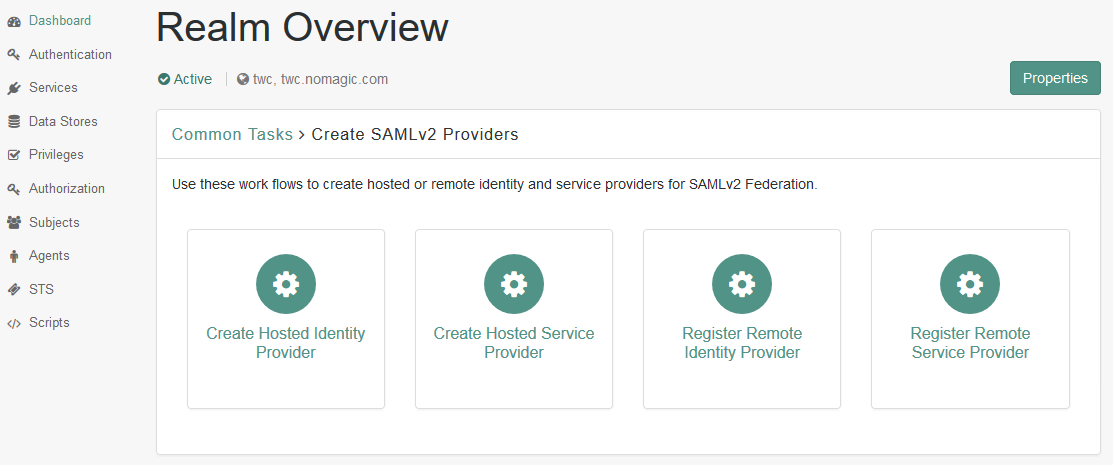
- Go back to Dashboard and in the realm overview, select Create SAMLv2 Providers and then Create Hosted Identity Provider.
Fill in the Identity Provider data by selecting the realm, the signing key, and entering a new circle of trust's name.
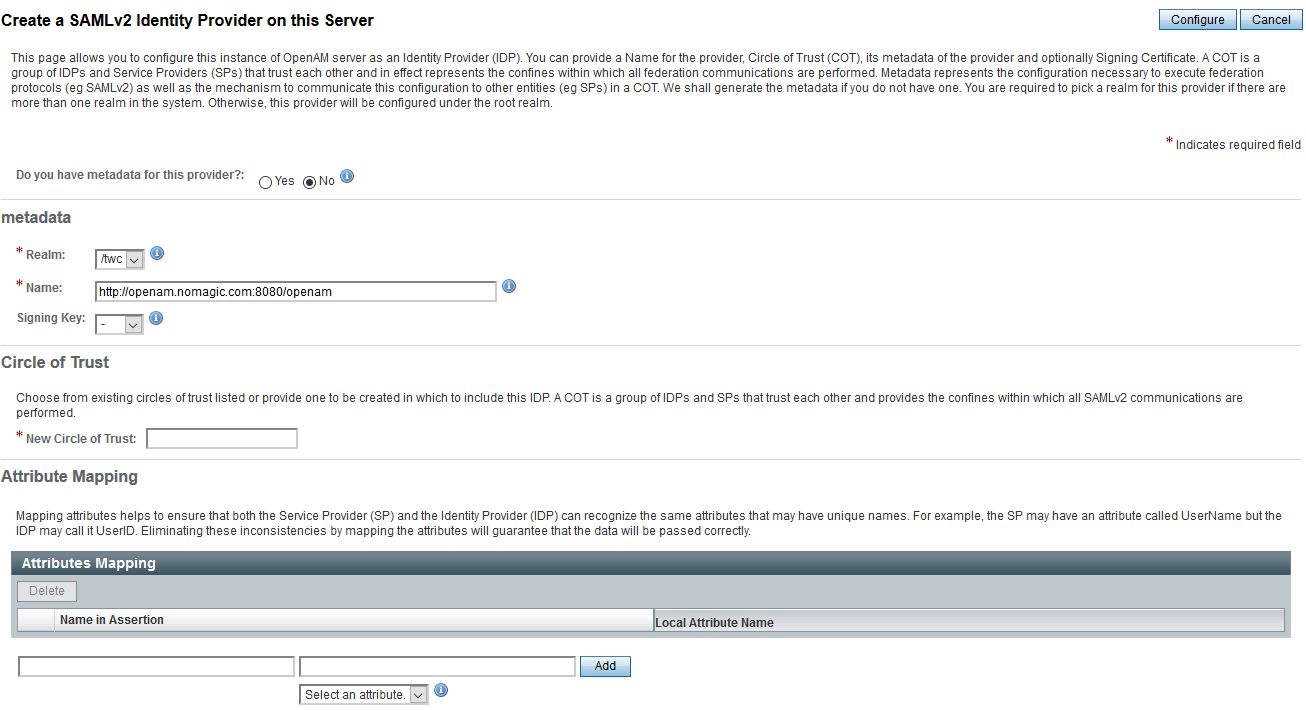
Click Configure to save the Identity Provider.
Return to the main page.
Select FEDERATION menu item and select to modify the newly created Identity Provider in the Entity Providers table in the Circle of Trust Configuration section.
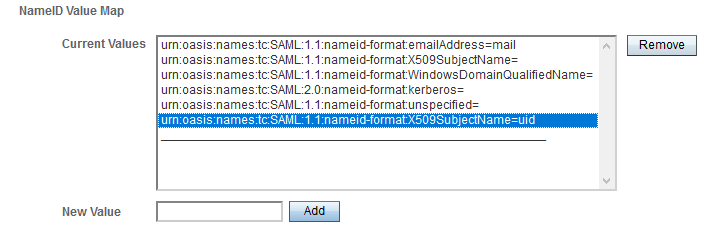
Remove the value "urn:oasis:names:tc:SAML:1.1:nameid-format:X509SubjectName=" in NameID Value Map in the Assertion Content tab, if any.
Add the value "urn:oasis:names:tc:SAML:1.1:nameid-format:X509SubjectName=uid" to the map. By default, this nameID is used in the Authentication Server for user identification (authserver.properties parameter authentication.saml.name.id.format).
Save the configuration changes.
To deploy the authentication server
- During the deployment process add the SAML integration configuration parameters to the file authserver.properties. The full list of SAML integration parameters is listed on the page Configuration Parameters, SAML Integration section .
- Set authentication.saml.enabled to true.
- If the authentication server is deployed on a cluster, set value for the parameter authentication.saml.entity.id (default is com.nomagic.authentication.server). This value should be unique for each authentication server instance.
- Set authentication.saml.idp.metadata.url to the appropriate ForgeRock server address (should be http://<server>:<port>/openam/saml2/jsp/exportmetadata.jsp?entityid=http://<server>:<port>/openam&realm=/<realm name>).
- Set the name of the button to the parameter authentication.saml.link. Users will click this button to log in using ForgeRock as the Identity Provider.
- Save the authserver.properties file and register/start the Authentication Server.
To configure SAMLv2 Remote Service Provider
- Go back to ForgeRock and, in the realm overview, select Create SAMLv2 Providers and then Register Remote Service Provider.
- Select the realm.
- Specify the URL of Authentication Server metadata: http[s]://<auth-server-host>:<auth-server-port>/authentication/saml/metadata (if such URL is accessible from ForgeRock) or select a file of stored Authentication Server metadata (usually used in https case).
- Enter or select the same circle of trust as that of the Identity Provider and click Configure.
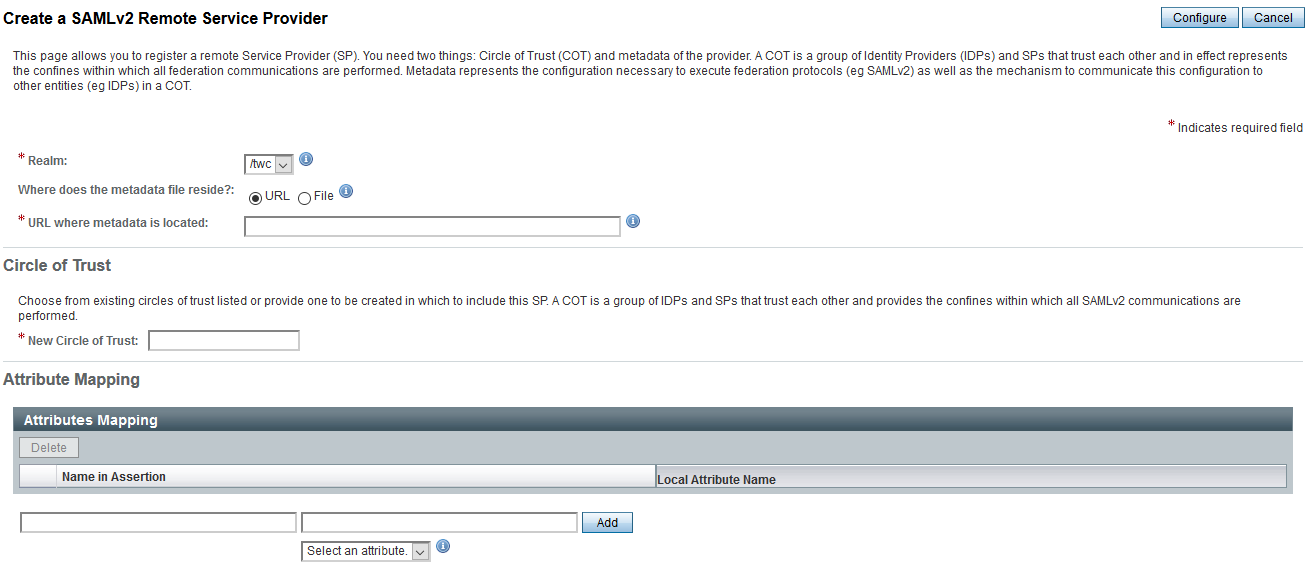
- A Service Provider with the default name com.nomagic.authentication.server will be created. The name of the service provider is configured in the Authentication Server's application.properties file (parameter authentication.saml.entity.id).
Once you have completed the steps on this page, you should be able to log in through ForgeRock by clicking the SAML integration button on the Authentication Server login page. If later the Authentication Server configuration, related to SAML or server keystore file is changed, delete the remote service provider and add a new one (see Create SAMLv2 Providers > Register Remote Service Provider).