Interface Analysis
Basic Concepts
An Interface Analysis table consists of system interfaces, their types (e.g., physical, data, energy, etc.), source/target, and related functions. An Interface Analysis table:
- Starts from any item identified in the Boundary Diagram.
- Captures the interaction between source and target elements.
- Informs the “class” of the interaction.
- Tells whether the interface involves external actors/components.
- Identifies if the interaction is beneficial or detrimental.
- Assigns explicit responsibility to each end of the interaction.
- Defines the functions involved and their “measurable” target and range of variation.
Creating an Interface Analysis Table
To create an Interface Analysis Table
- In the Containment tree, right-click the Interface Analysis package and select Create Diagram.
- Do one of the following:
- In the dialog, expand Failure Mode Avoidance and select Interface Analysis.
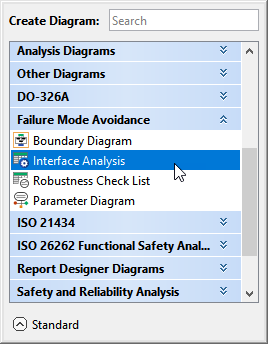
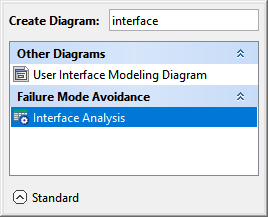
- In the search tab, type the keyword interface and then select Interface Analysis.
The Interface Analysis Table is now displayed in the diagram pane of the modeling tool.
- In the dialog, expand Failure Mode Avoidance and select Interface Analysis.
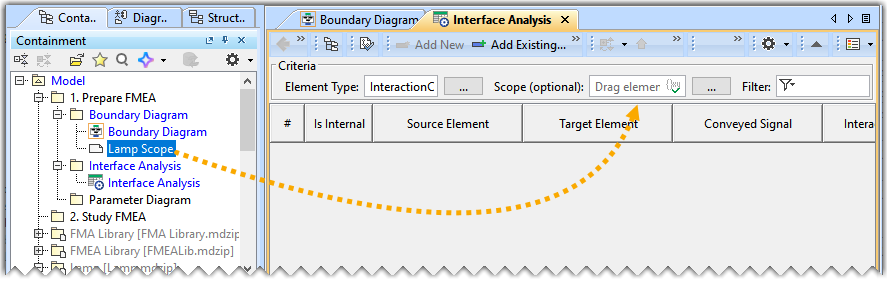
Defining the scope
To define the scope for the Interface Analysis Table
- From the Containment tree, drag and drop the Lamp Scope element on the Scope of the Interface Analysis table.
Adding an Interaction Connector to the Interface Analysis Table
To add an existing Interaction Connector
- In the Interface Analysis Table, click Add Existing.
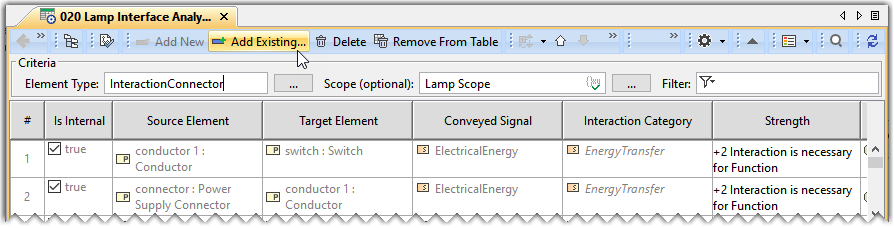
- In the Select Interaction Connector dialog, select the required Interaction Connector.
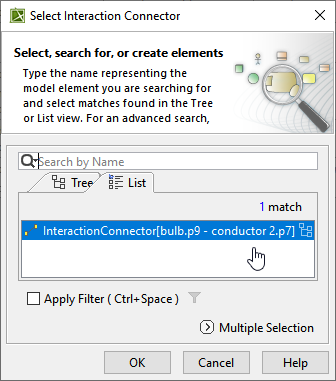
A row is added to the Interface Analysis Table, displaying the existing Interaction Connector.
Adding a Functional Range
To add a Functional Range
- Double-click the designated cell in the Functional Range column and the required scope element's row and click
 .
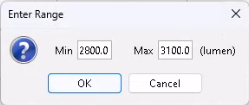
. - In the Enter Range dialog, enter the Min and Max values and click OK.
Adding a Functional Target
To add a Functional Target
- Double-click the designated cell in the Functional Target column and the required scope element's row and click .
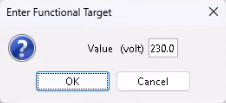
- In the Enter Functional Target dialog, enter the Value and click OK.
Assigning Strength
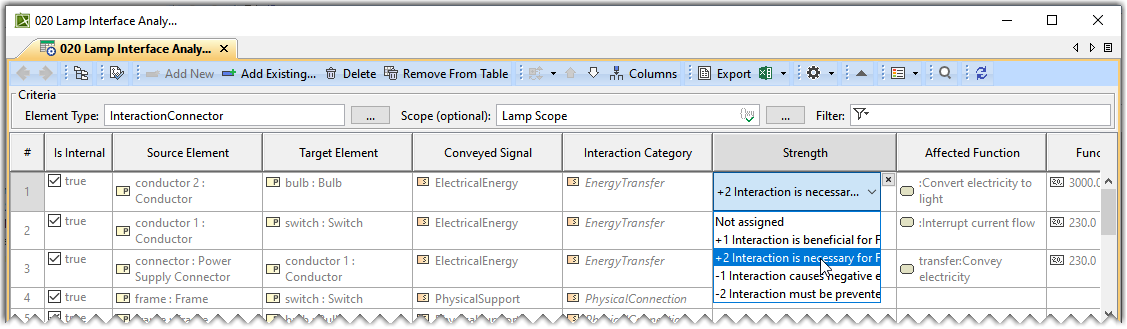
To assign Strength
- Double-click the designated cell in the Strength column and the required scope element's row, and select the strength from the drop-down list.
Adding Affected Function
To add Affected Function
- Double-click the designated cell in the scope element's row and the Affected Function column and click . The Select Affected Function dialog opens.
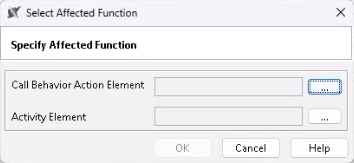
- In the Select Affected Function dialog, click the icon, found near the Call Behavior Action Element.
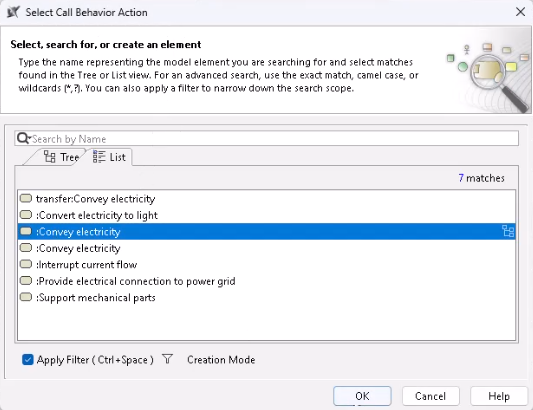
- In the Select Call Behavior Action dialog, select the Call Behavior Action and click OK.
- In the Select Affected Function dialog, click the icon found near the Activity Element.
- In the Select Activity dialog, select the Activity and click OK.

Adding a Source/Target Interface Owner, Interface Owner Concurrence Date, and Interface Owner Activity
To add a Source/Target Interface Owner
- Double-click the designated cell in the scope element's row and the Source Interface Owner column and type in the required details.
- Double-click the designated cell in the scope element's row and the Target Interface Owner column and type in the required details.
Similarly, add the required details for the Source/Target Interface Owner Concurrence Date and Interface Owner Activity.