To add projects to the server, you must have the Create Resource permission or the Resource Creator role for the category in which you want to store projects.
You can add projects to the server in one of the following ways:
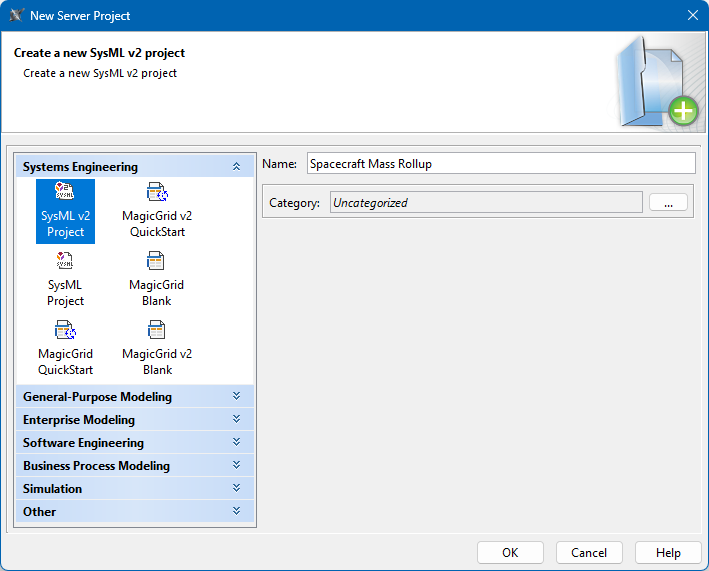
Do one of the following to open the New Server Project dialog:
In the main menu, select Collaborate > New Server Project.
In the main menu, select Collaborate > Projects and click the New button.
On the left side of the dialog, select the SysML v2 Project type.
In the Name box, enter the project name.
Optionally, click next to the Category box, and select the category where you want to store your project.
To create a new category for the project, click in the Select Category dialog.
Click OK.
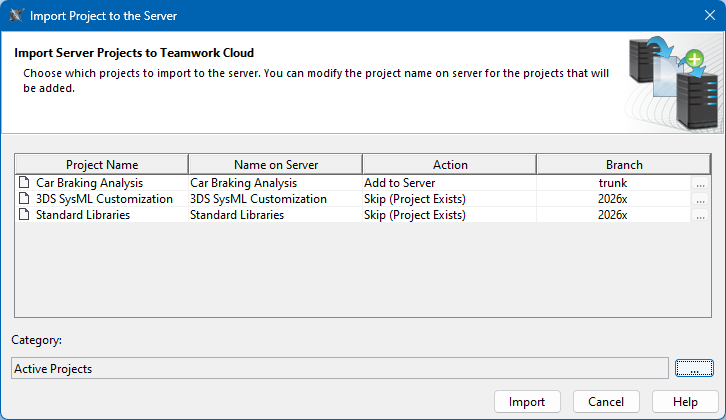
Importing local projects to the server
To import a local project to the server
Open the project you want to add to the server from the local repository.
In the main menu, select Collaborate > Add Project to Server.
Only projects saved as new versions can be added to the server. If your local project is saved as a draft, you will be prompted to save it as a new version before proceeding to the next step. For more information, see the Saving local projects section on page Managing local projects.
In the Import Project to the Server dialog, review the actions that will be performed on the main project and any used projects.
Optionally, click next to the Category box, and select the category where you want to store your project.
To create a new category for the project, click in the Select Category dialog.