To add an Enovia TRM Data Source
- On the DataHub Explorer tab, click
 . The Add Data Source dialog opens.
 - From the Driver list, choose ENOVIA Traceable Requirements Management.
Enter the address of the 3DEXPERIENCE/3DSpace (you can copy it from a web browser after you have logged on to the platform) and click Login with browser.
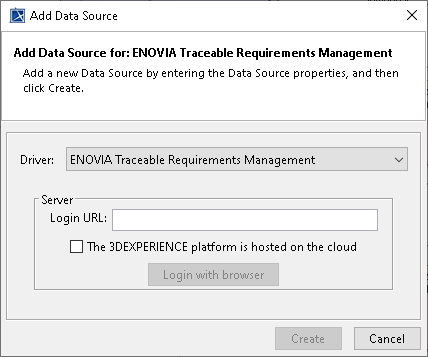
Check the The 3DExperience platform is hosted on the cloud checkbox, if the platform is hosted on the cloud.
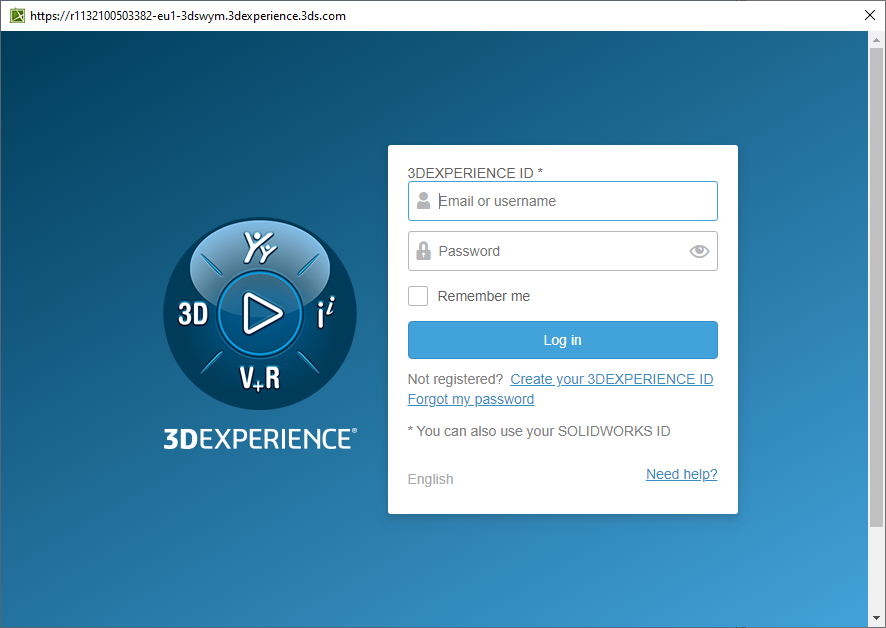
The TRM login authentication of the embedded browser appears. Log on through the embedded browser shown in the login page.
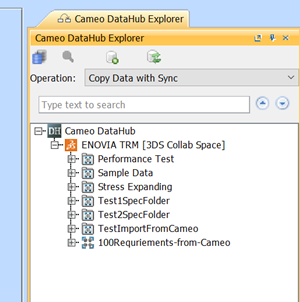
After the login is done, the embedded browser will be automatically closed, and DataHub will add the TRM Data Source to DataHub Explorer.
Note
By default, the TRM tree shows only the owned Requirements that you have created. To see the full list of Requirements, right-click the TRM Data Source node and select Show all elements.
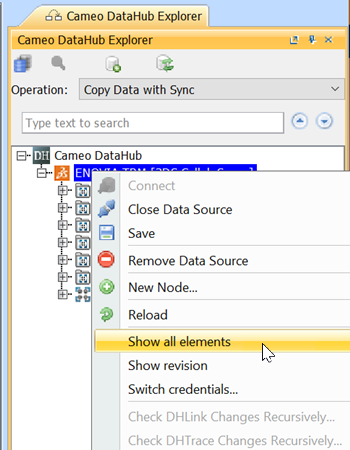
The Show all elements command for displaying the full list of Requirements.
When the TRM Data Source is connected, you can continue with basic features of DataHub.