On this page:
You can choose to have certain Data Marking Categories ignored in the model. This means that the Data Marking Category:
- Will no longer be available in the Data Markings shortcut menu.
- The Data Markings that belong to this category will no longer be visible on the elements they are added to, including Containment Markings.
- The Data Markings that belong to this category will no longer be represented on the Diagram Banner.
The Data Markings of an ignored category that were added to the elements prior to the category being added to the Ignored list will be displayed again once the category is removed from the Ignored list.
Important
If you add/remove Data Marking Categories to/from the Ignored list, ensure that you:
- Refresh the project (click F5 on the keyboard or click View > Refresh in the tool) to see the changes on the element symbol portion markings.
- Update the Diagram Banner to see the changes in the Diagram Banner markings.
Adding a category to the Ignored list
To add a category to the Ignored list
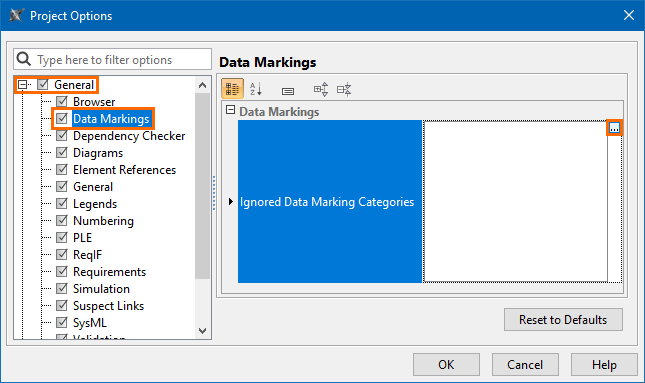
- In the main menu, select Options > Project. The Project Options dialog opens.
- In the General group, select Data Markings.
- Click the three dots button next to the Ignored Data Marking Categories option.
In the Select Data Marking Category dialog, select the categories you want to be ignored and click the Add
 button. Click OK.
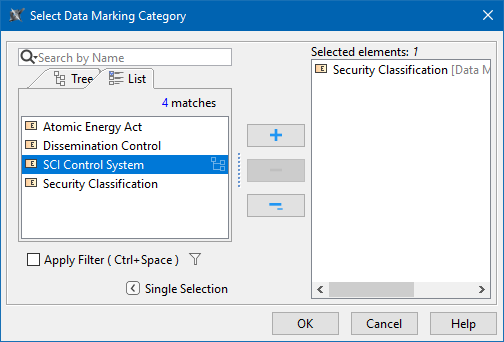
Click OK.
Removing a category from the Ignored list
To remove a category from the Ignored list
- In the main menu, select Options > Project. The Project Options dialog opens.
- In the General group, select Data Markings.
Click the three dots button next to the Ignored Data Marking Categories option. The Select Data Marking Category dialog opens.
To remove all categories from the Ignored list, click the Reset to Defaults button.
On the right side of the dialog, select the categories that you want to remove from the Ignored list.
Click the Remove
 button. Click OK.
 - Click OK.