In addition to the schema class and/or instance specifications import, the wizard allows you to simultaneously create a mapping diagram that represents a class mapping that contains mapped properties of a schema class and an element. When you create a mapping diagram using the Excel Import plugin, it allows you to map properties of an imported schema class to any selected element of UML, SysML, or a user model.
To create a mapping diagram when importing a schema class
- Click File > Import From > Excel/CSV File. The Import Data from Excel and Create Mapping dialog will open, see figure below.
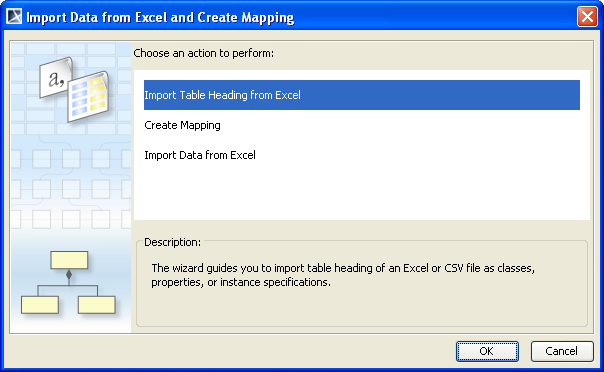
- The Import Table Heading from Excel menu is selected by default, see figure above. Click OK. The Import Table Heading from Excel wizard will open, see figure below.
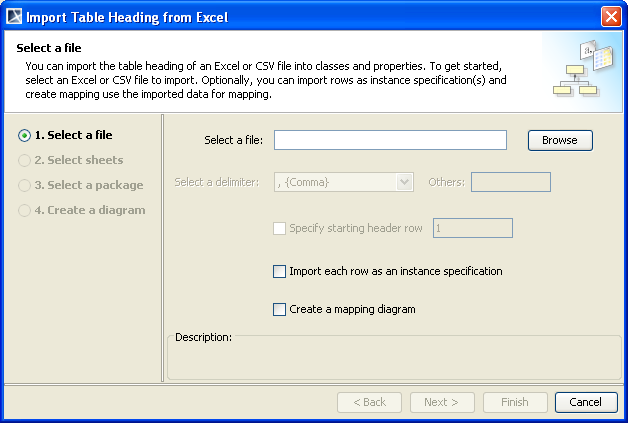
- Click
 to find a file whose data you want to import as a schema class.
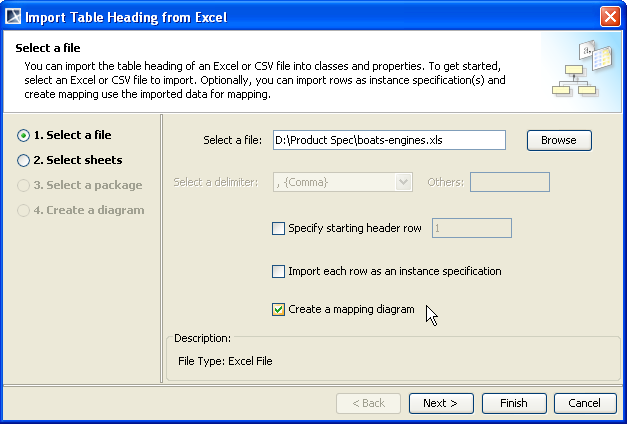
- Select the
 check box, see figure above.
 - Click either (i)
 or (ii)
  . If you click , skip steps 6-11.
 - If you select an Excel file that has data in several sheets, you can select which sheet to import, see figure below. If your file is a CSV file, the Select sheets option will be skipped.
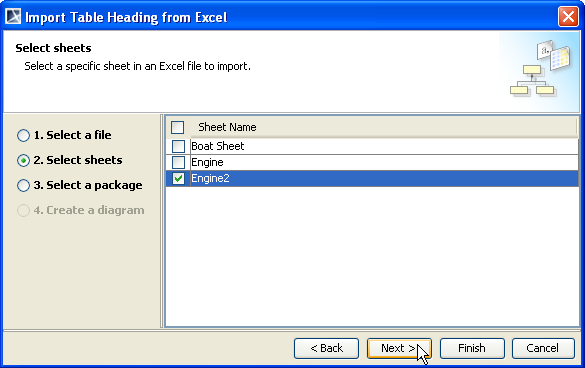
- Click either (i) or (ii) . If you click , skip steps 8-11.
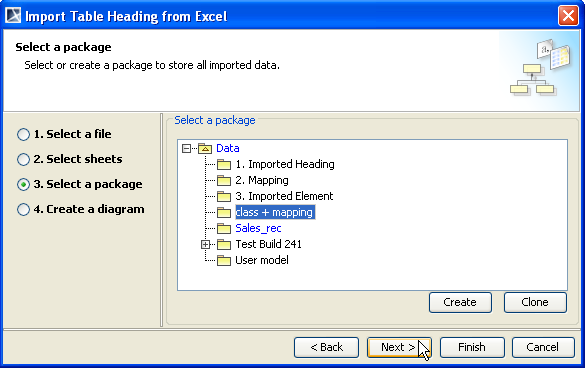
- Select a package from the treeview, see figure below, create, or clone it to store the class mapping.
- Click either (i) if you want to create a class diagram to show all imported data or (ii) . If you click , skip steps 10-11.

- You can rename the diagram and select a package (owner) to store the class diagram from the treeview, see figure above. If you clear the
 check box, the diagram's name and owner fields will be disabled.
 - Click . The Create Mapping wizard will open and select the imported schema class as the mapping source automatically, see figure below.
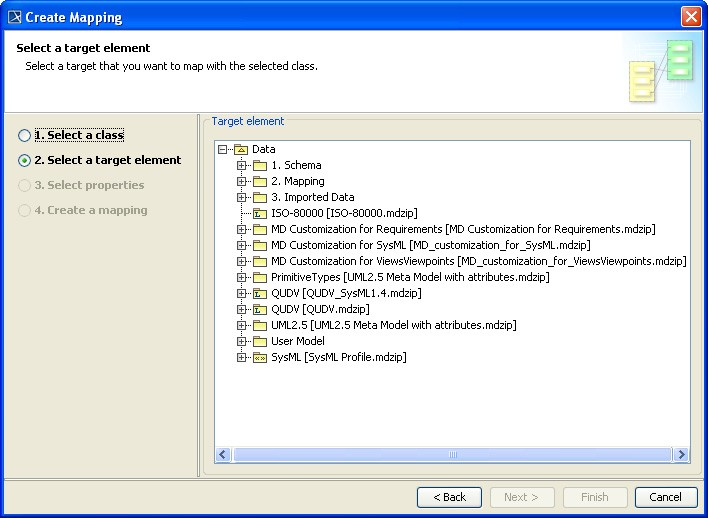
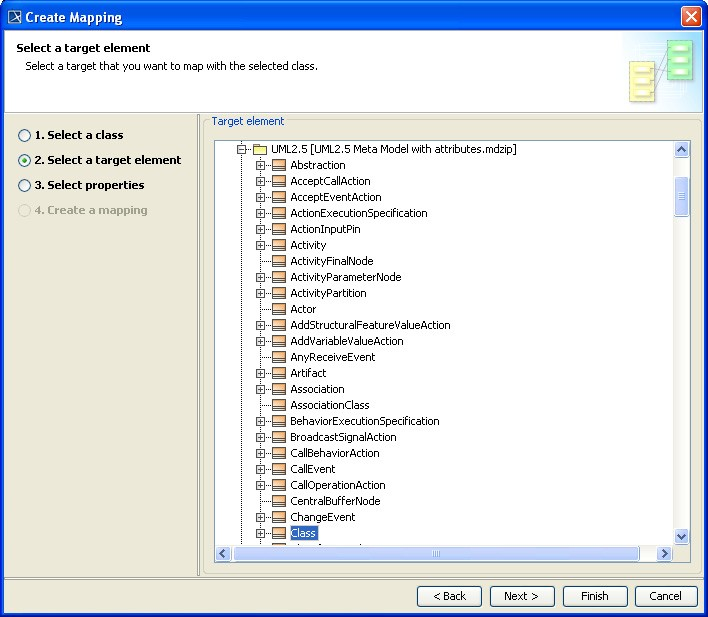
- Select a target element that you want to map with the selected schema class from UML 2.5 Profile, SysML Profile, or your own model, see figure above.
- Once you have selected a target element, click either (i) or (ii) , see figure above. If you click , skip steps 14-17.
If you click at this point, the wizard will:
- Use all properties of the selected schema class and the selected properties of the target element to create a class mapping.
- Name the mapping class and mapping diagram according to the following format <schemaName> mapping.
- Save the class mapping and mapping diagram at a location where the schema class is stored.
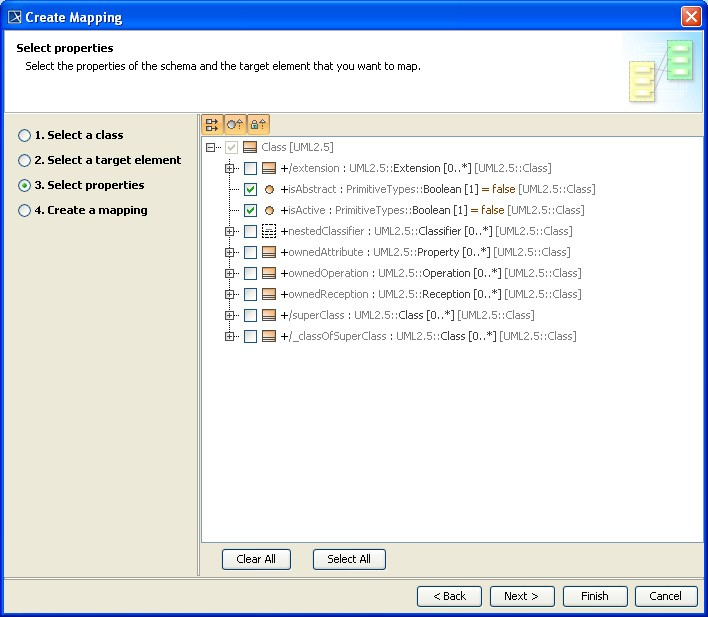
14. Select one or more properties of the schema class and the target element to map, see figure above.
15. Click either (i) or (ii) . If you click , skip steps 16-17.
If you click at this point, the wizard will:
- Use the selected properties of the target element to create a class mapping.
- Name the mapping class and mapping diagram according to the following format <schemaName> mapping.
- Save the class mapping and mapping diagram at a location where the schema class is stored.
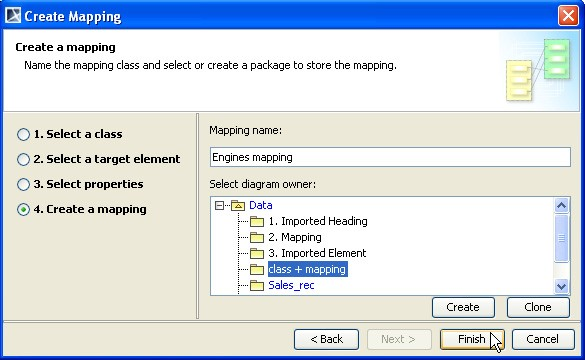
16. You can rename and select or create a package to store the class mapping, see figure above.
17. Click .