On this page
All Teamwork Cloud and Cameo Collaborator for Teamwork Cloud resources are sorted by categories. The sections below explain how to create new categories and manage existing ones.
After creating/editing/removing a category, that category in other applications will not be updated immediately.
Creating categories
You can either create a category when publishing a model from a modeling tool or create it directly in the Resources app. Follow the steps below to create a category in the Resources app.
To create a category
Open the Resources application.
Click
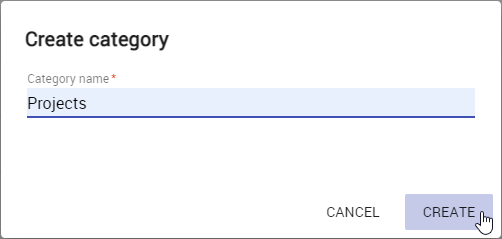
 on the bottom right corner of the screen. The Create category dialog opens.
Creating a nested category
To create a category nested in another category, navigate to the intended parent category before completing step 2.
- Enter the new category name in the Category name field.
- Click the Create button.
The category is created and shown in the repository together with other categories.
Renaming categories
If necessary, rename existing categories as described below.
To rename a category
- Open the Resources application and navigate to the category you want to rename.
- Click
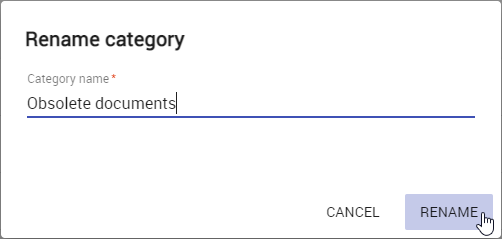
 next to the category and select Rename category. The Rename category dialog opens.
 - Enter a new category name in the Category name field.
- Click the Rename button.
After completing the above steps, you can see the category with a new name in the repository.
Removing categories
You can remove categories without deleting the resources they contain.
To remove a category
- Open the Resources application and navigate to the category you want to remove.
- Click next to the category and select Remove category.
- When you get the message asking if you want to remove the category, click Remove.
The category is removed and all the resources it contained are moved to the Uncategorized category.
Navigating in categories
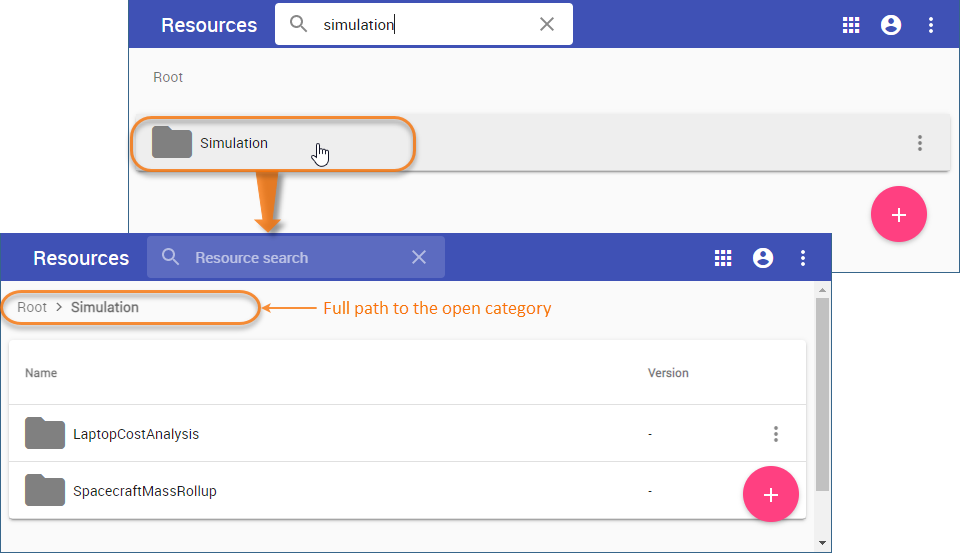
Teamwork Cloud supports nested categories so you can organize your resources in a folder-like manner. To see the contents of a specific category, click it as displayed below. The full path to an open category is displayed just below the app bar.
Setting category classifications
Category classifications that you set through data markings allows you to control access to that category. To set a category classification, enable data markings in the Settings menu and ensure you have sufficient permissions.
To set a category classification
- Go to the Resources application and locate the category to set its classification.
- Click next to the category and select Edit category details.
- In the Classification drop-down select the desired data marking.