To create a SV-9 table
- Do one of the following:
- Press Ctrl+N.
- From the main menu, select Diagrams > Create Diagram.
- Right-click the <view name> Package and select Create Diagram > <diagram name>.
- In the main toolbar, click Create Diagram and in the opened window, search for the needed diagram.
The Resources Forecast Creation Wizard opens.
- Follow the steps of the wizard.
When the table is created, you can later add new or existing resources as well as add or remove columns.
Adding new subjects of forecast
To add new subjects of forecast
- In the Resources Forecast table toolbar, click Add New.
- Choose a resource type from the list.
- In the opened Select Owner dialog, choose the owner.
- In the Specification dialog, type the name for the new resource.
Adding existing subjects of forecast
To add existing subjects of forecast
- In the Resources Forecast table toolbar, click Add Existing.
- In the opened Select Element dialog, choose a needed resource.
- Click OK.
Adding new columns
To add new columns
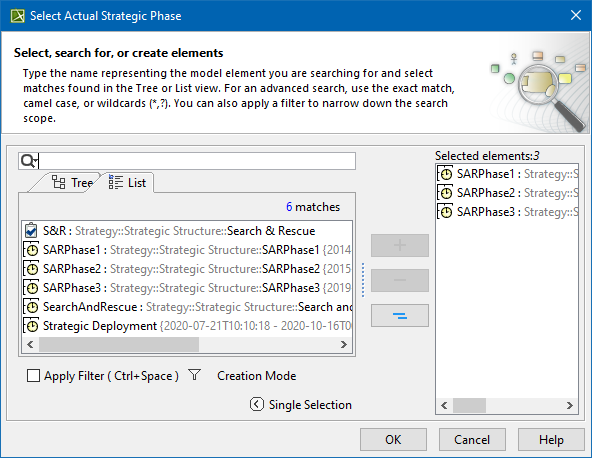
- In the Resources Forecast table toolbar, click Add / Remove Columns.
- In the opened Select Actual Strategic Phase dialog, choose one or more needed Actual Strategic Phases.
- Click OK.
Removing columns
To remove columns
- In the Resources Forecast table toolbar, click Add / Remove Columns.
- In the opened Select Actual Strategic Phase dialog, remove Actual Strategic Phases from selection or click Remove All.
- Click OK.
Sorting columns
After you add new columns, you can sort them according to Actual Strategic Phase dates.
To sort columns
- In the Resources Forecast table toolbar, click Sort Columns.
Related pages