One of the features of AutoStyler is customization. All default features of AutoStyler can be customized thus making the plugin more flexible and compatible with your needs. This page will include several detailed examples of customizing AutoStyler; however, this page itself will serve as an introduction. More information about customization are found at the following pages:
To access the customization page for AutoStyler
- Click on Options > Project.
- Click on Defined Elsewhere. Here you can customize AutoStyler.
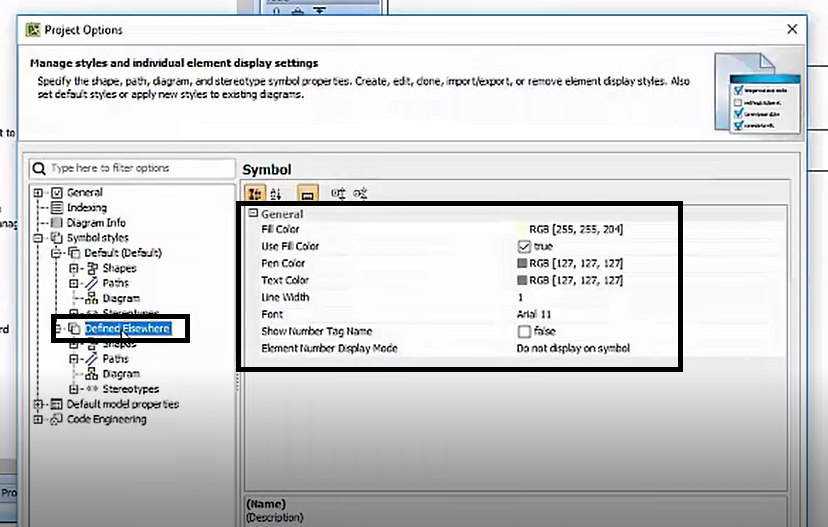
Defined Elsewhere Page
To automatically apply customizations
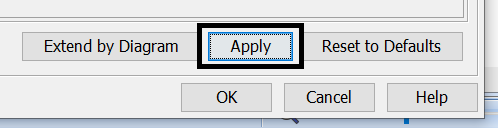
1. Once you have adjusted your customizations, find the word Apply and click on it.
2. Make sure to select the correct diagram you would like to apply your customizations to.
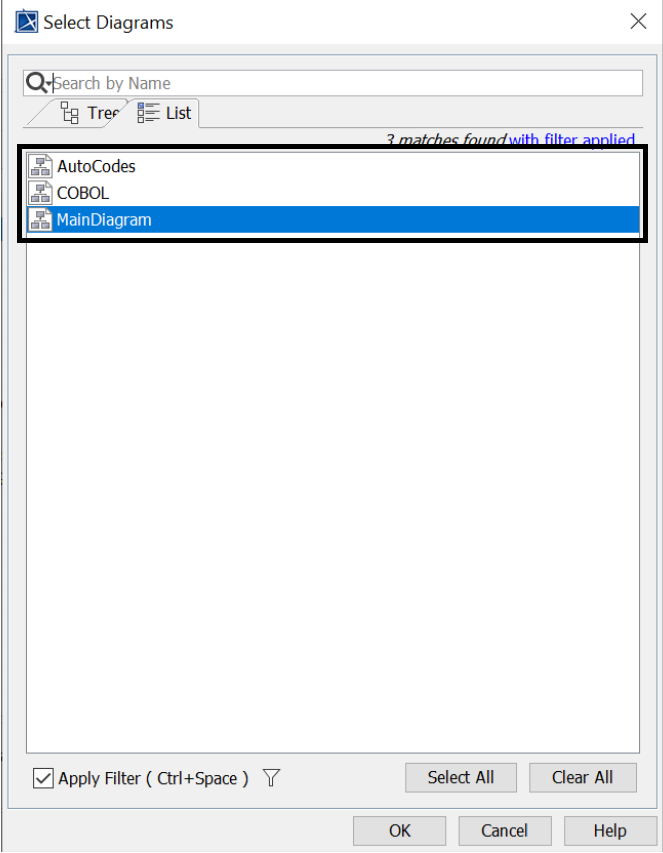
3. After you select your diagram and click OK you will be led to another page where you will also click OK. You have now automatically applied all the customizations you wanted to make to all the classes.