Time Periods
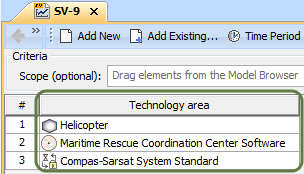
In the UPDM plugin, time periods are used to specify resources for the architecture against a timeline indicating when they are expected to be in use. Time periods can be defined when the subjects, or resources, of the forecast are already added in the table. As shown below, the Technology area column must be filled in with resources before adding a specific time period.
Time Periods Dialog
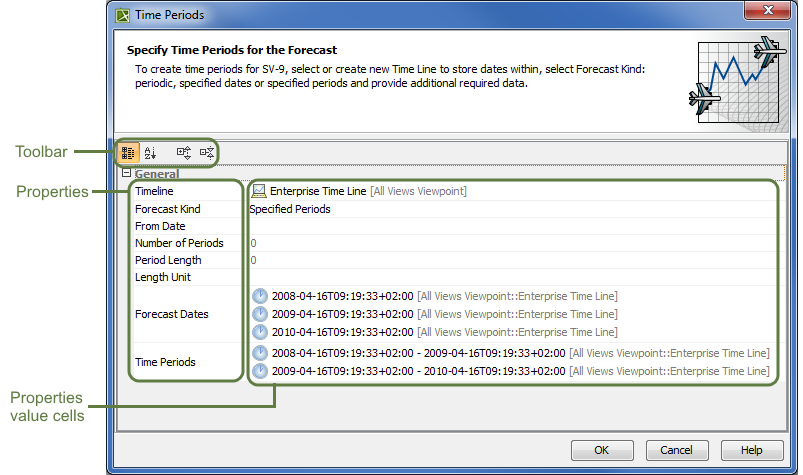
The Time Periods dialog is essential when defining time periods for the forecast of the resources.
The Time Periods dialog consists of three areas:
Toolbar - This area allows you to control how properties in the dialog are displayed: Categorized view, Alphabetical view, Expand all, Collapse all.
Properties - Provides a list of properties that are available to specify.
- Properties value cells - The fields where you can set values for each property.
Time Periods dialog
Due to the abundance of button in the dialog, the instructions are broken down into two parts: General instructions and Specific instructions. General instructions will explain how to open the Time Periods dialog and how to approach the main part of the Time Periods dialog: the Timeline. Specific instructions will explain how to specify Forecast Kinds in the dialog.
To open the Time Periods dialog
- Open the Time Periods dialog, click
 on the table toolbar.
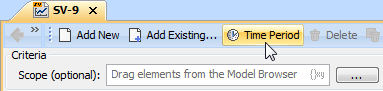
Button Visibility
The button "Time Period" is visible only in the Forecast diagram or any diagram containing a forecast.
Specifying Timelines
When specifying timelines, you can either select a pre-existing timeline or create a new one.
To specify the Timeline
There are two things you can do here:
- Select a pre-existing Timeline.
- Click
 , or Alt+Down for a drop-down menu to make your selection.
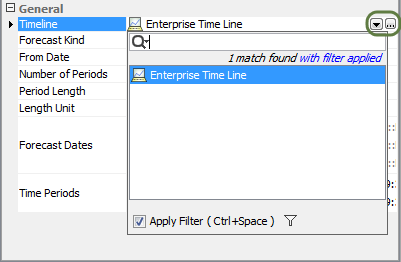
- Click
- Create a new Timeline.
- Click
 for a Select Timeline dialog.
 - Click Creation Mode.
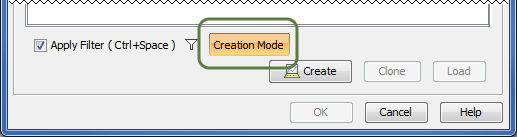
- Select the appropriate package from the list in which you want to store a new Timeline.
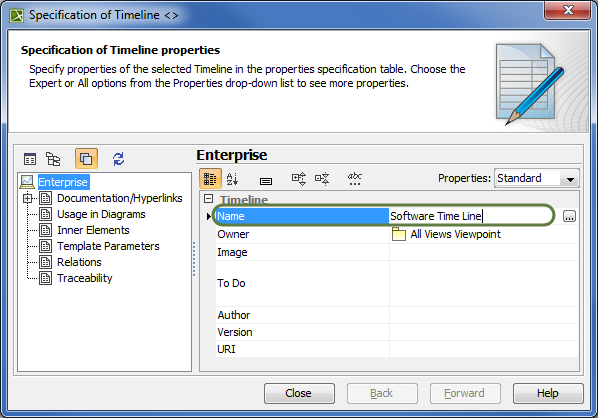
- Click Create. (Shortcut: Right-click and click Create.) The new Timeline's specification window opens.

- Type the name of the new Timeline. Click Close.
- Click OK.
- Click
Related procedures
Sample Model:
The model used in the figures of this page is the DoDAF Sample. To open this sample, do one of the following:
- Download DoDAF Sample.mdzip.
- Find in modeling tool <modeling tool installation directory>\samples\UPDM\DoDAF Sample.mdzip